|
Letter
|
Content
|
Size
|
|---|---|---|
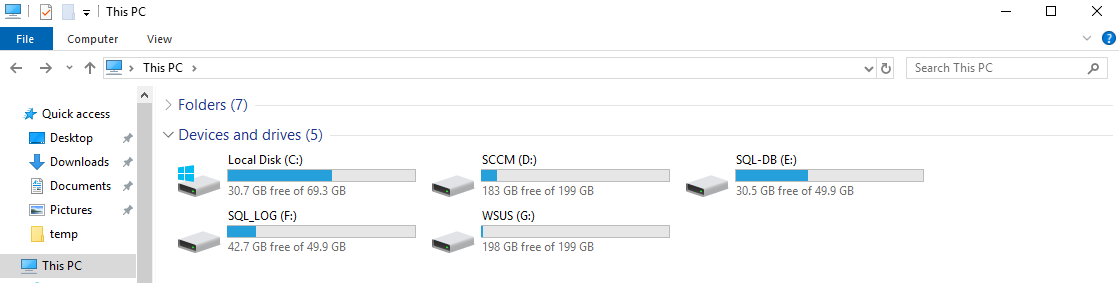
| C:\ | Windows / OS | 70 GB |
| D:\ | SCCM | 200 GB |
| E:\ | SQL Database (64K) | 50 GB |
| F:\ | SQL Log (64K) | 50 GB |
| G:\ | WSUS | 200 GB |


Perform this action using an account that is a member of the Schema Admins security group.
.\SMSSETUP\BIN\X64\extadsch.exe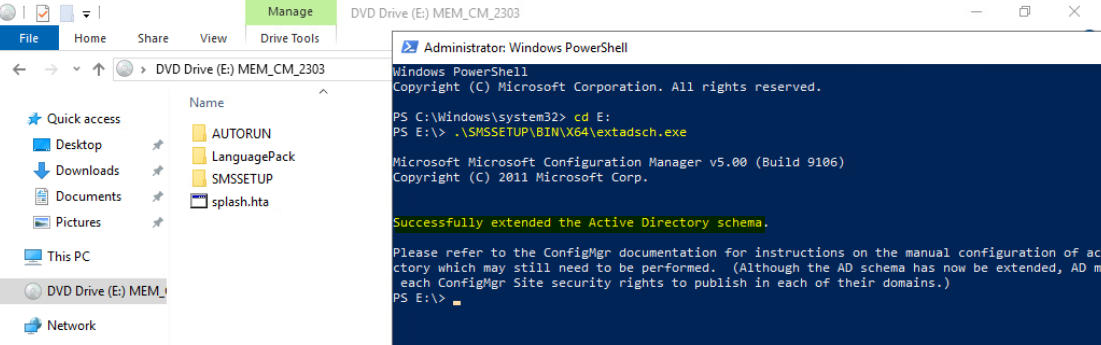
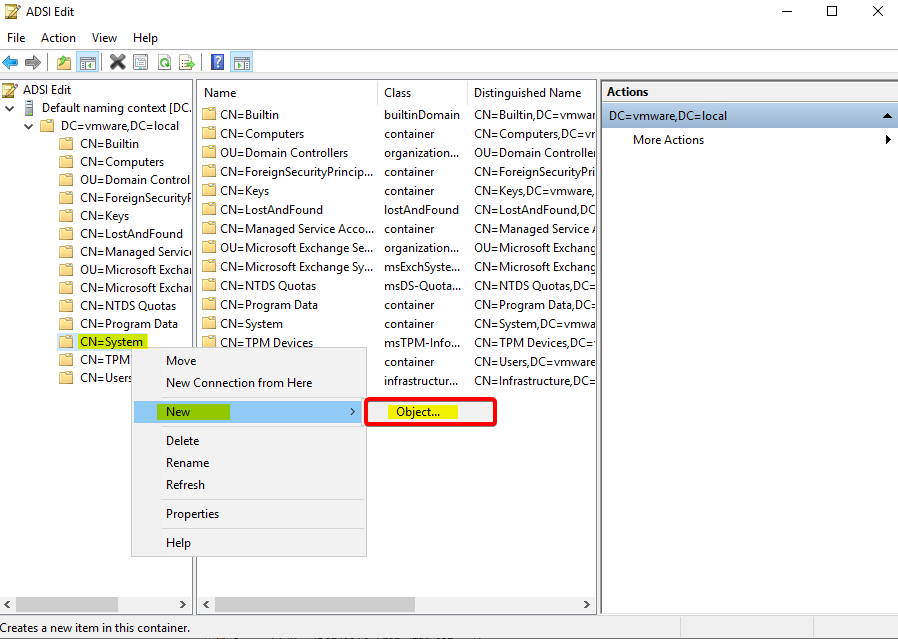
Extending the schema doesn’t automatically create the System Management container. You need to create this container manually in every domain that hosts a Configuration Manager site server. To do this, open ADSI Edit, find the System container, and add a new Object.
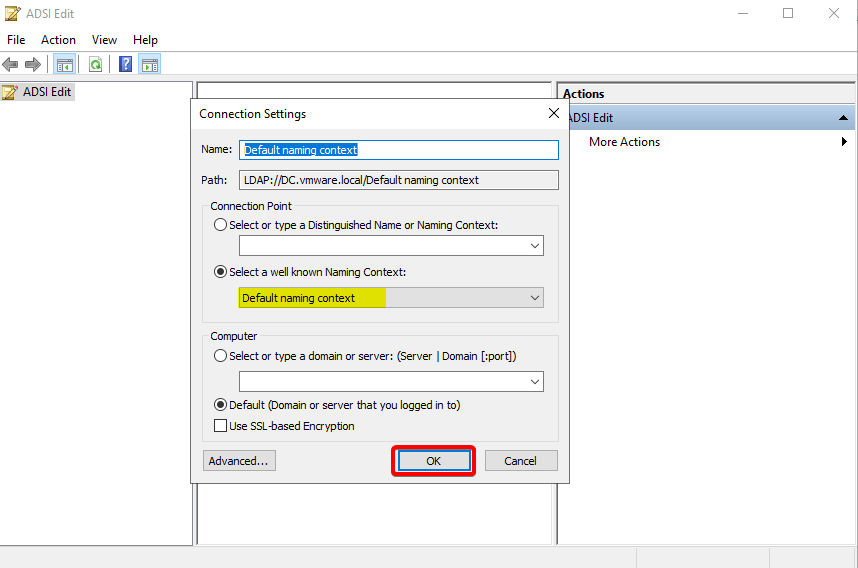
Start ADSIEdit, go to the System container and create a new Object
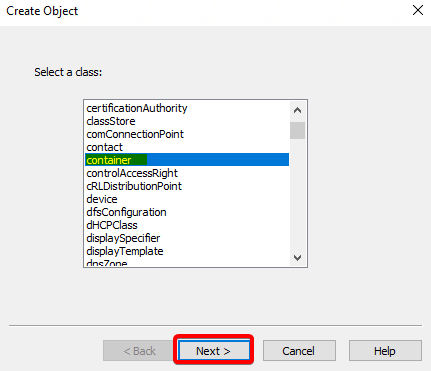
Select Container
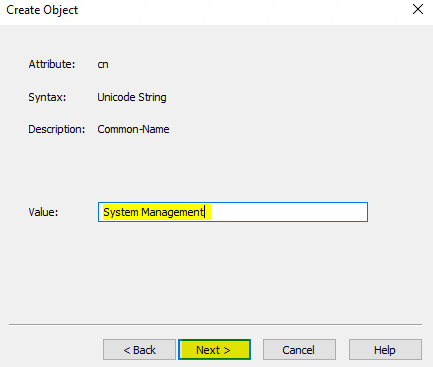
Enter System Management
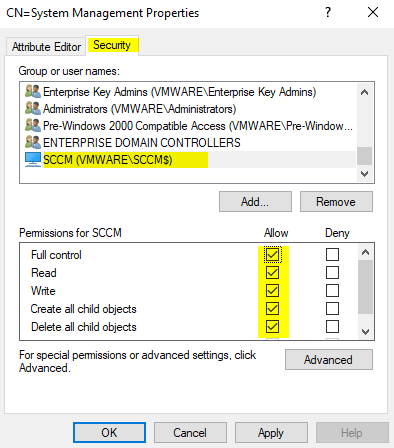
Set security permissions:
Right-click the System Management container and select Properties.
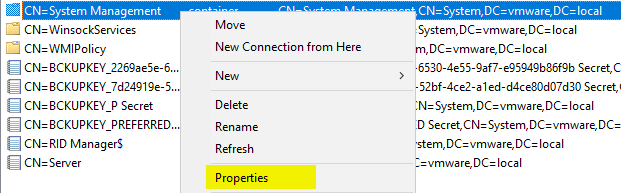
In the Security tab, add the site server computer account and Grant Full Control permissions
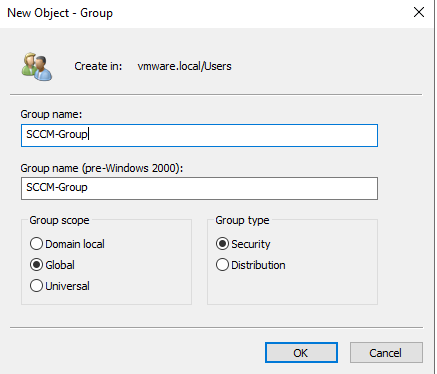
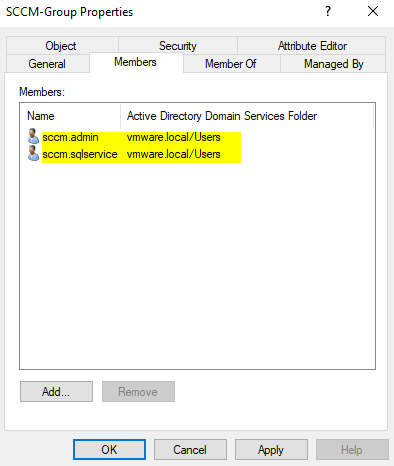
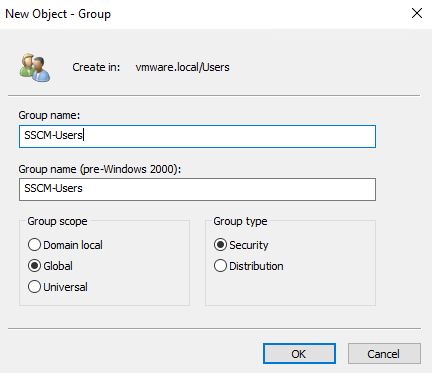
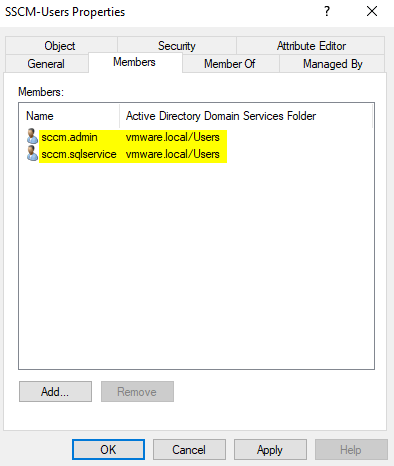
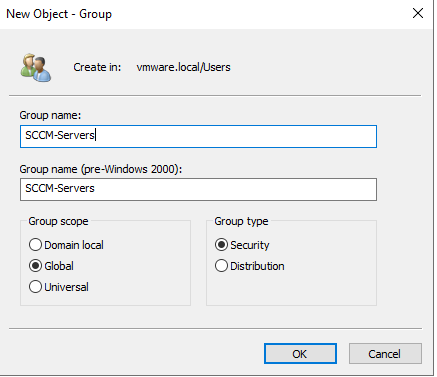
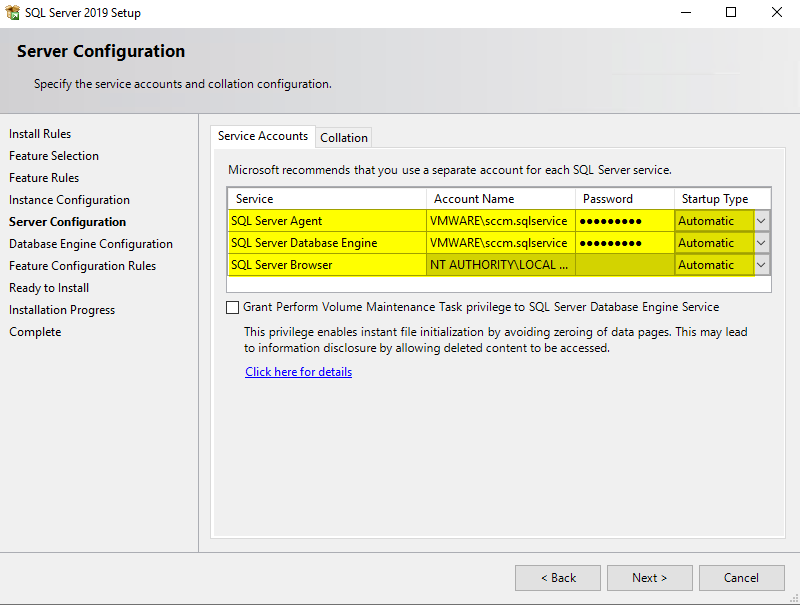
Pre-Installation: Accounts and Groups Before starting the installation, create the necessary service accounts and groups. While you can use your own naming convention, I will use the following names throughout this guide:
SCCM-SQLService: SQL Server services account.
SCCM-NAA: Network Access Account.
SCCM-ClientPush: Domain account for client push installation.
SCCM-SQLReporting: Reporting Services user account.
SCCM-DomainJoin: Domain account for joining machines during OSD.
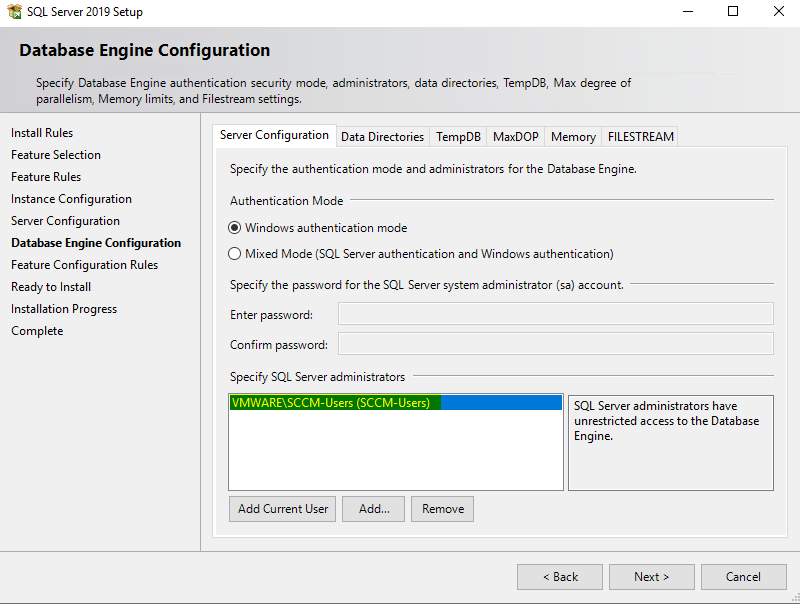
SCCM-Admins: Domain group for SCCM Administrators.
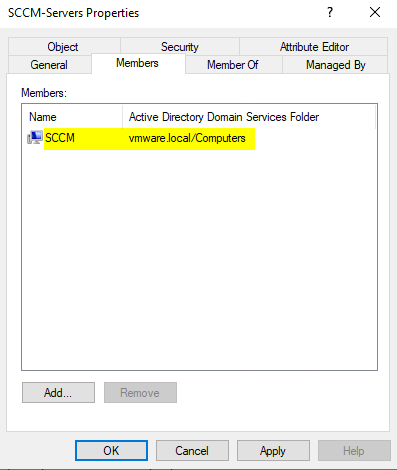
SCCM-SiteServers: Domain group containing all SCCM servers in the hierarchy.
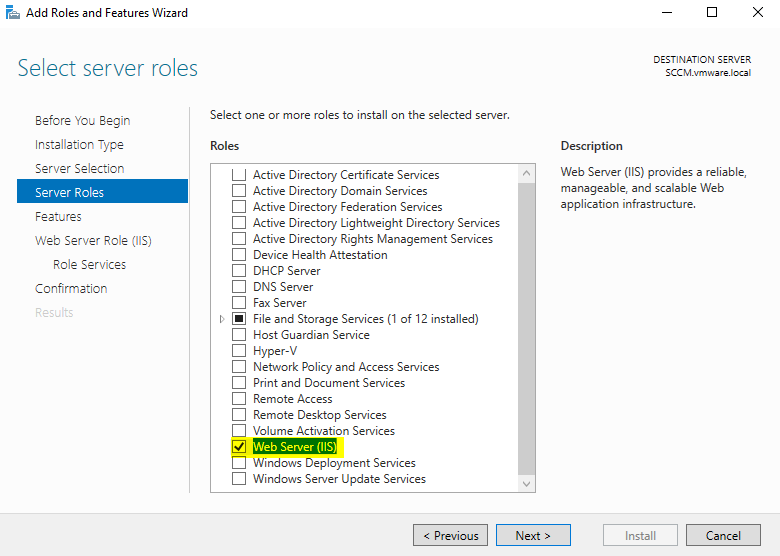
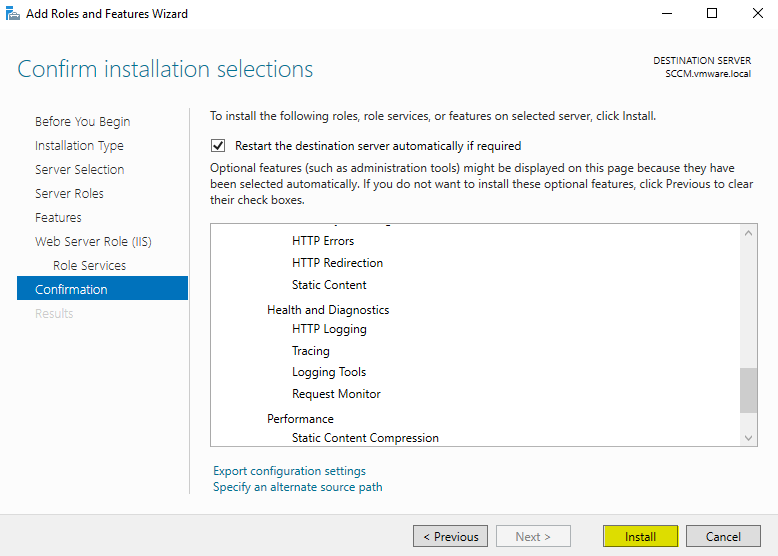
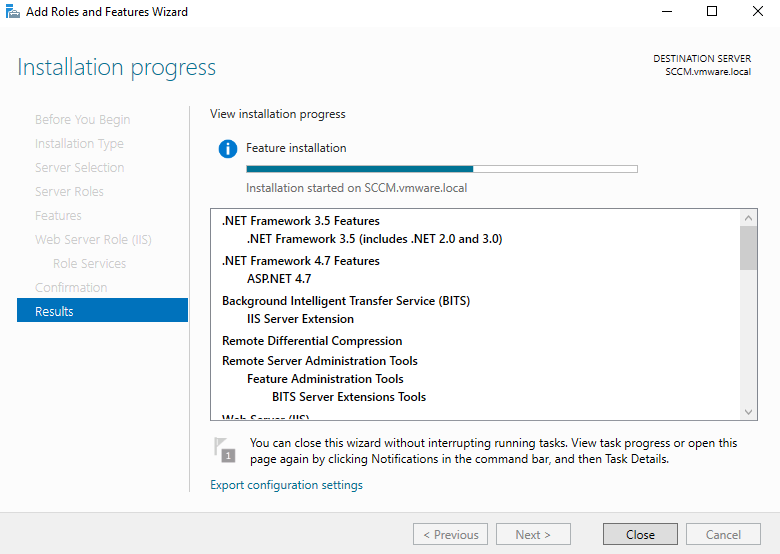
IIS and Prerequisite Installation To install the Web Server (IIS) role and required features;
log in to the SCCM server and navigate to Server Manager > Manage > Add Roles and Features.
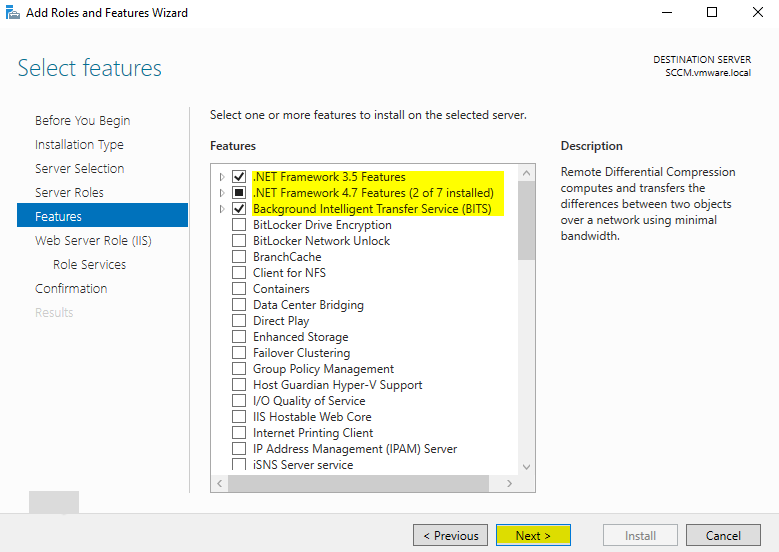
1. Features to Enable:
NET Framework 3.5 & 4.5: Include all sub-features.
BITS: Background Intelligent Transfer Service.
Remote Differential Compression: Ensure this is selected.
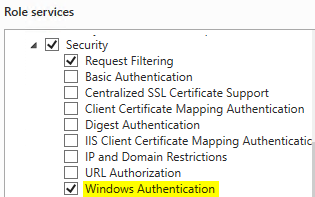
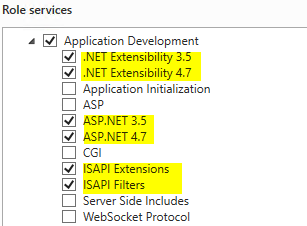
2. Role Services to Enable (under IIS):
Common HTTP Features: Default Document and Static Content.
Application Development: .NET Extensibility (3.5 & 4.5), ASP.NET (3.5 & 4.5), and ISAPI Extensions.
Security: Windows Authentication.
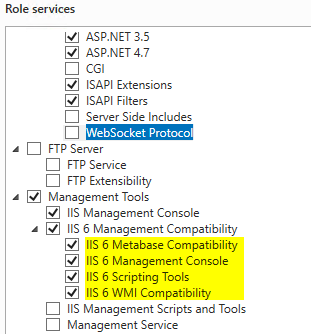
Management Tools: IIS Management Console, IIS 6 Management Compatibility (Metabase and WMI), and IIS Management Scripts and Tools.
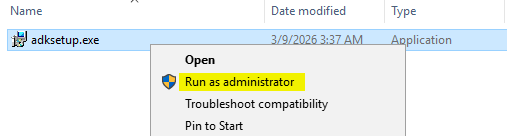
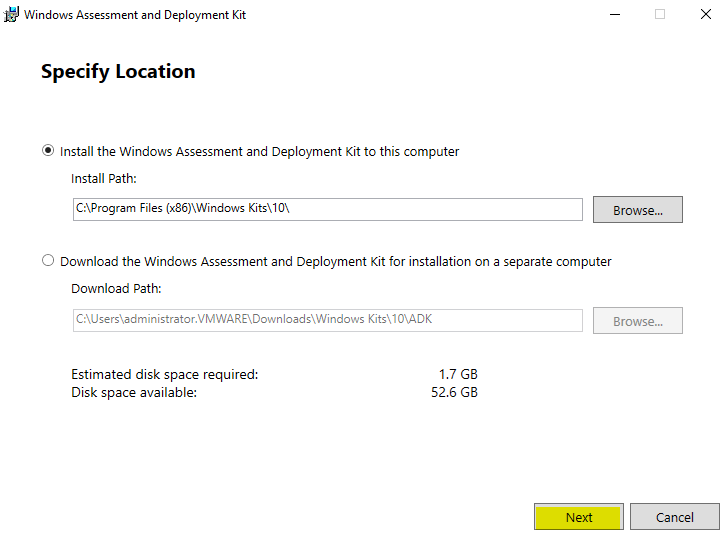
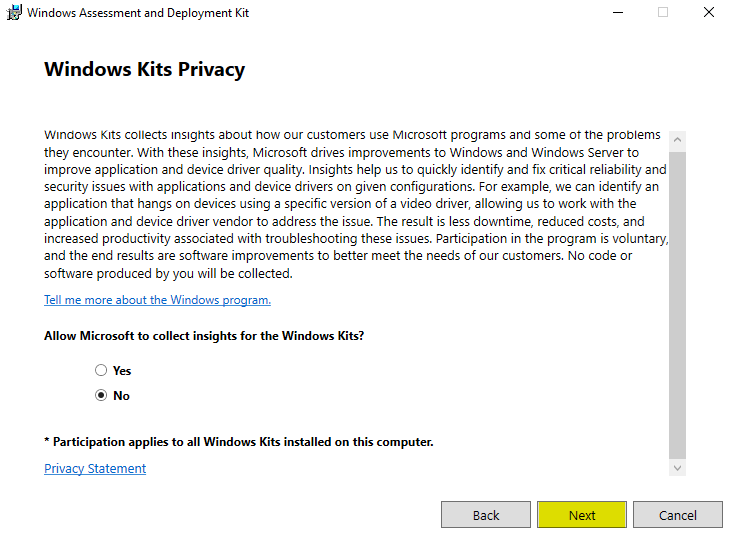
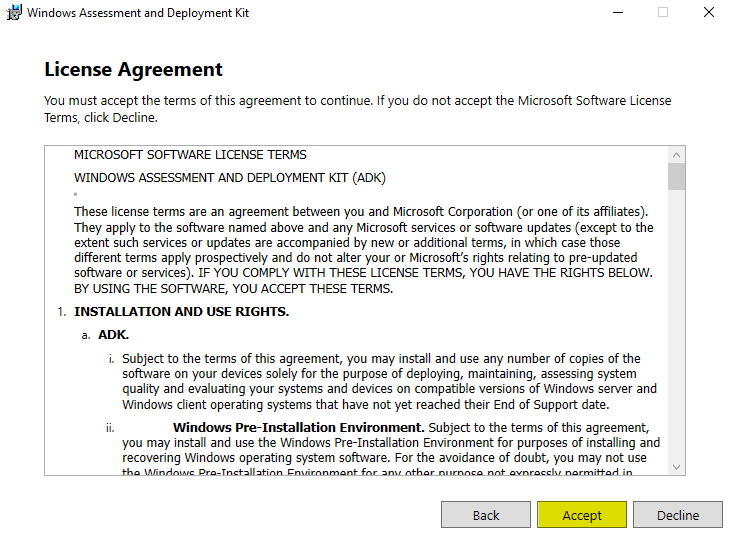
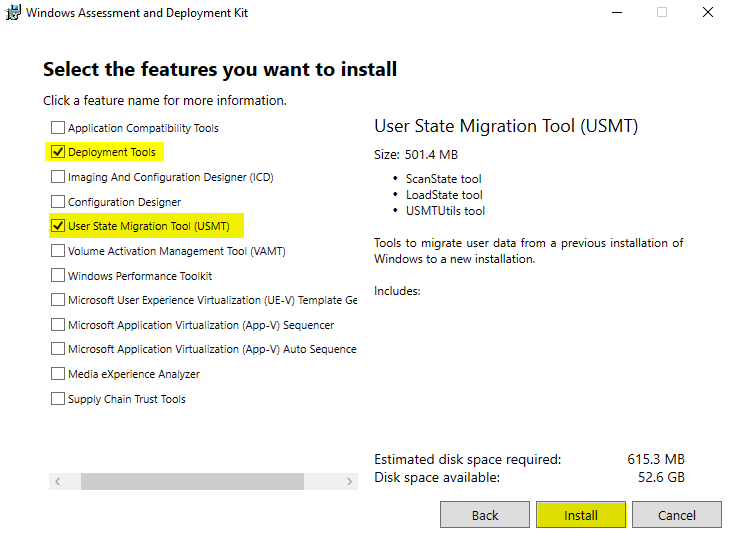
Download and Install Windows ADK (Version 1903) First, download both the Windows ADK and the WinPE Add-on. You can find the complete list of available versions in the official Windows ADK documentation.
Installation Steps:
Run the Windows ADK setup and select the following components:
Deployment Tools
User State Migration Tool (USMT)
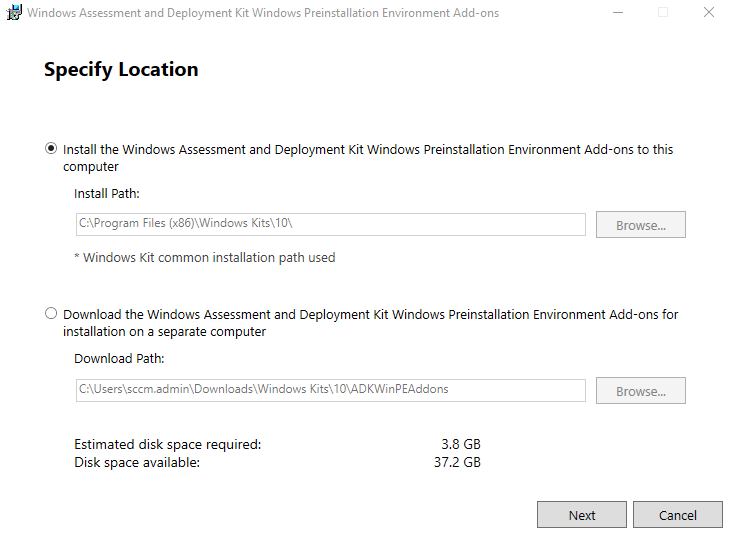
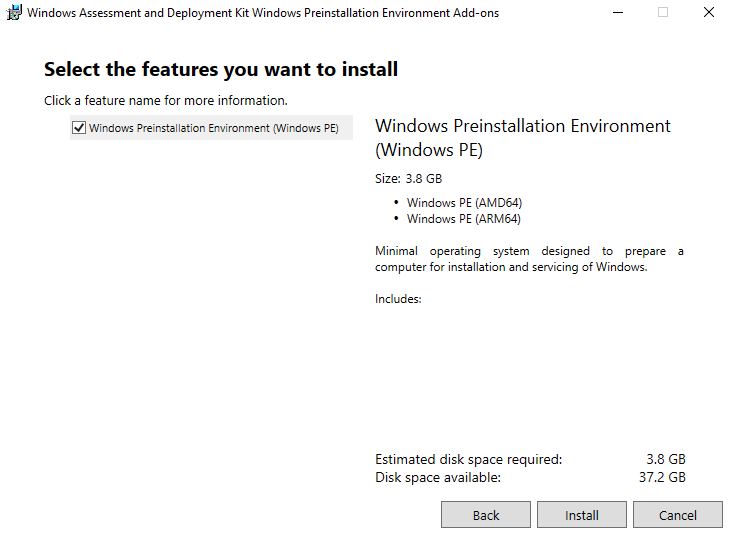
Once the ADK installation is complete, proceed to install the Windows PE add-on.
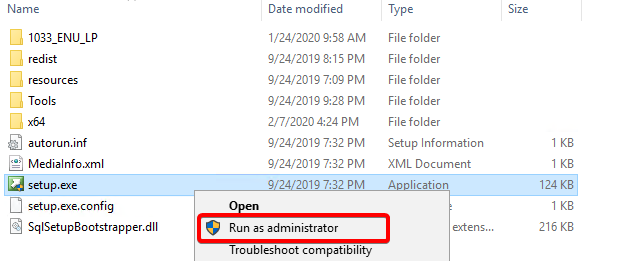
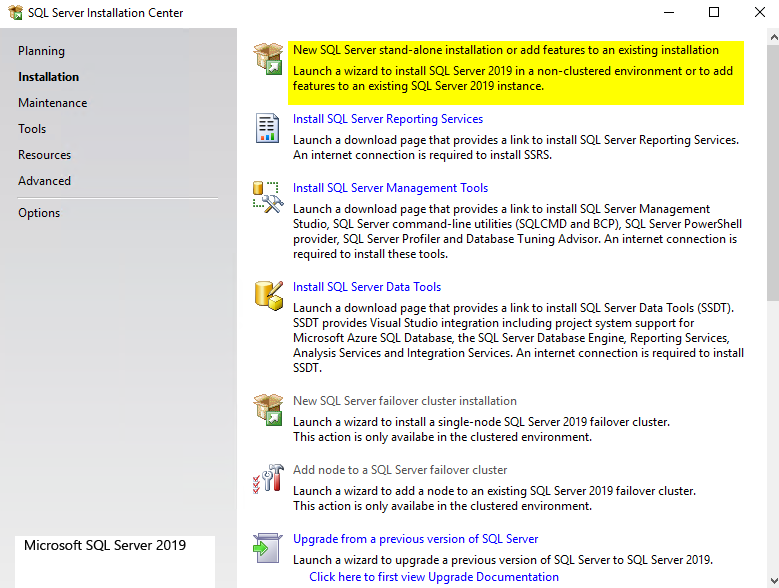
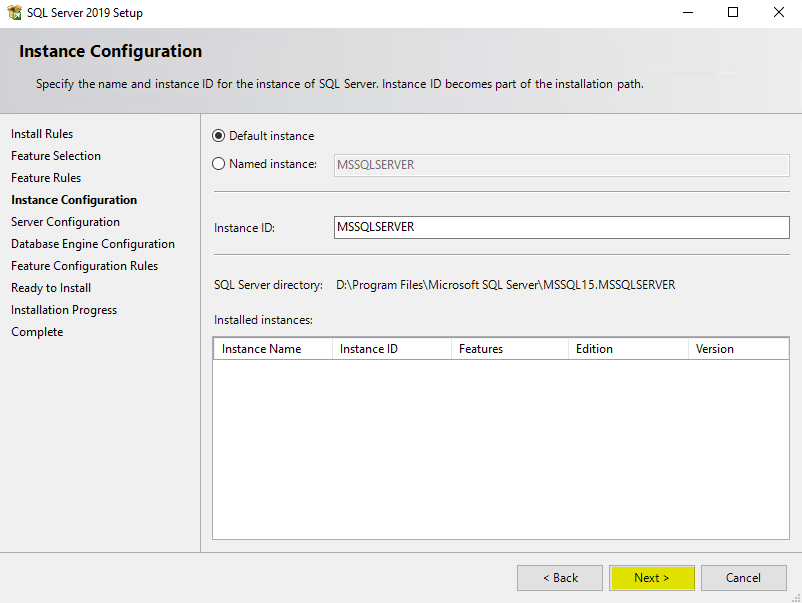
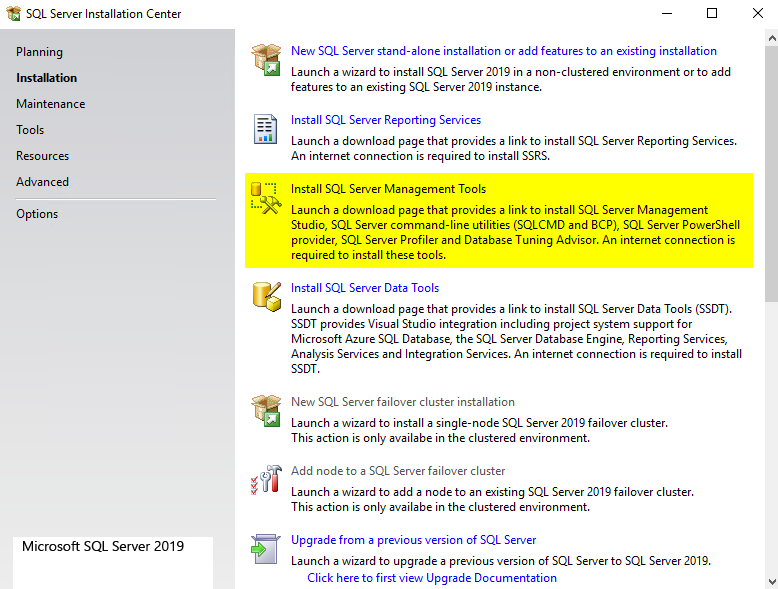
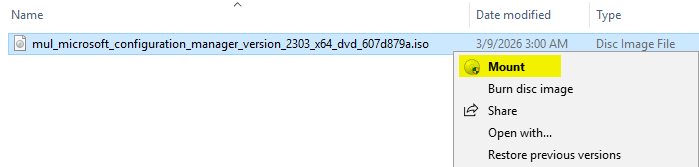
Mount the ISO and launch setup.exe with administrative privileges. Navigate to the Installation tab and choose New SQL Server stand-alone installation.

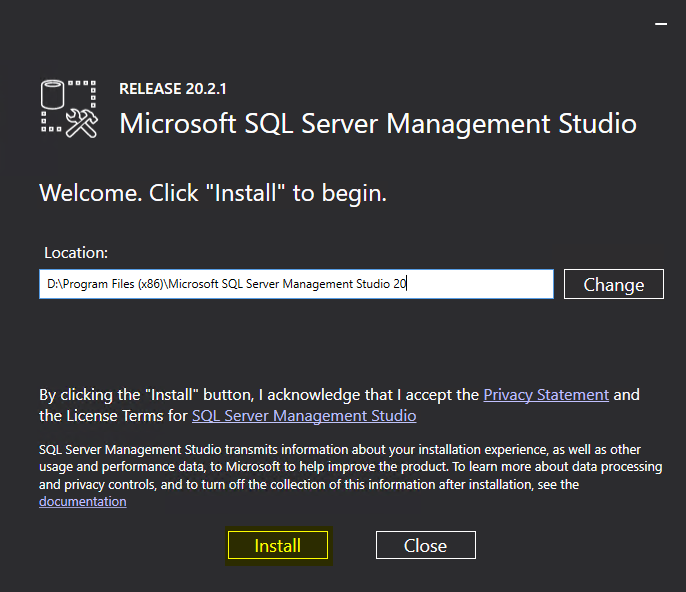
Install SQL Server Management Studio (SSMS) Next, download the latest version of SSMS and run the installer with administrative privileges on your primary site server.
Installation Process:
-
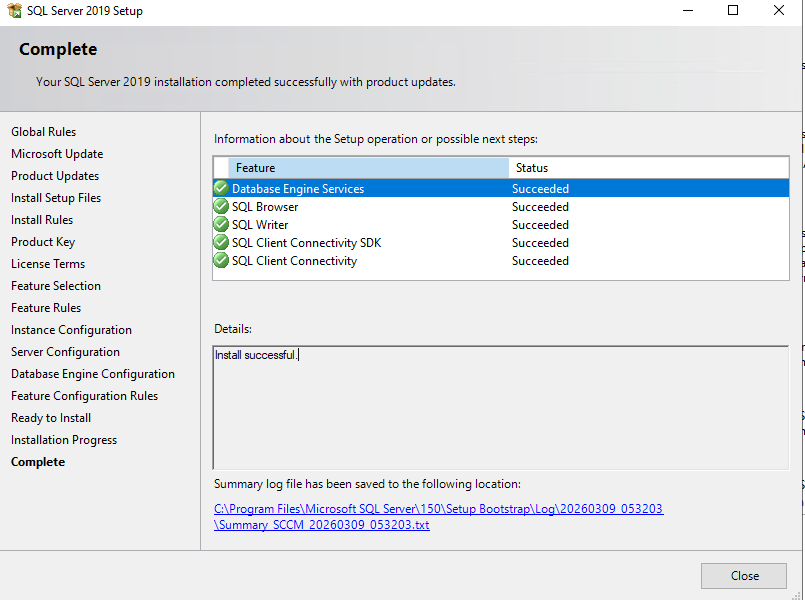
Click Install and wait for the process to finish.
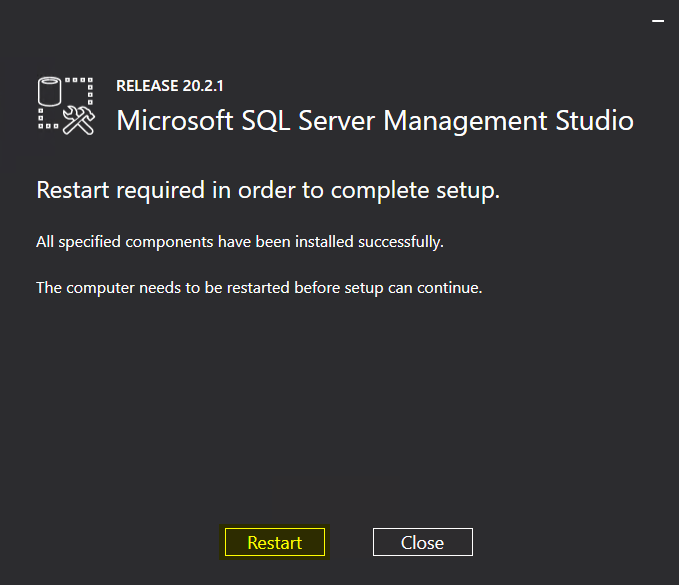
-
A system reboot is required once the installation is complete to finalize the setup.
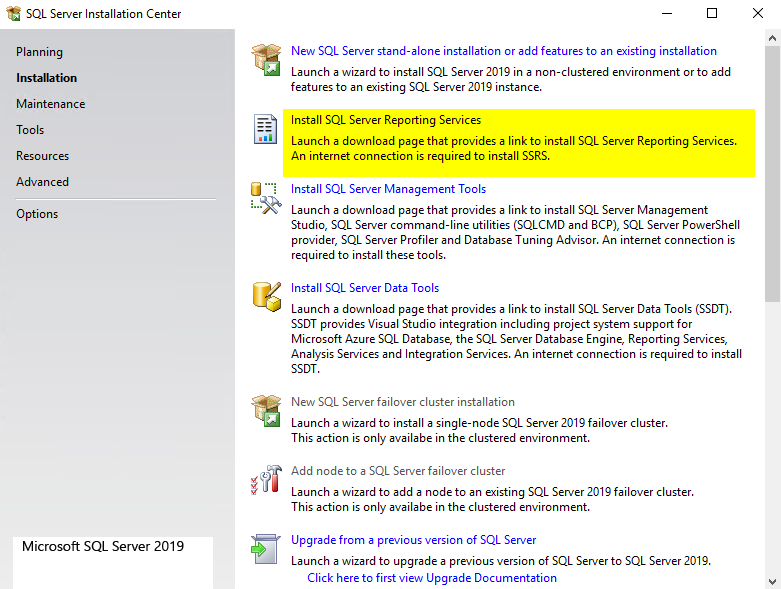
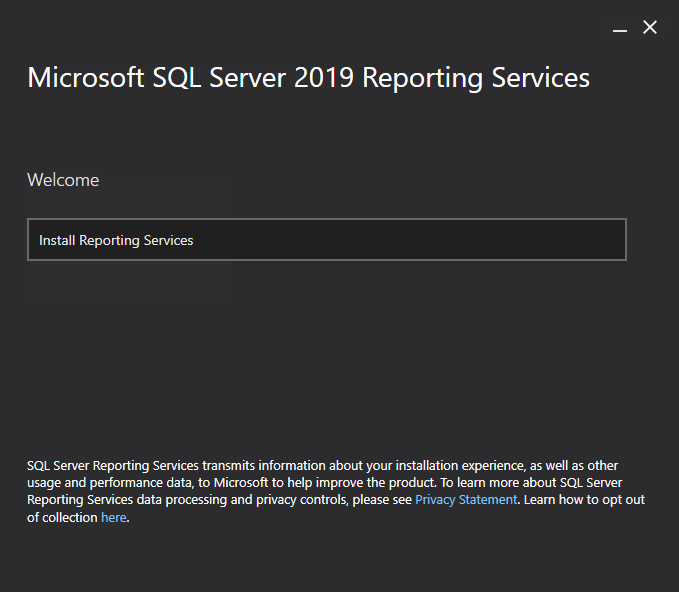
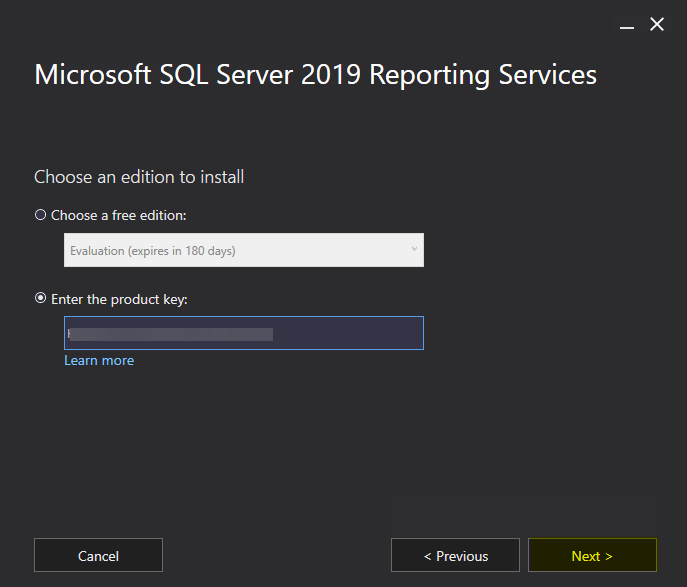
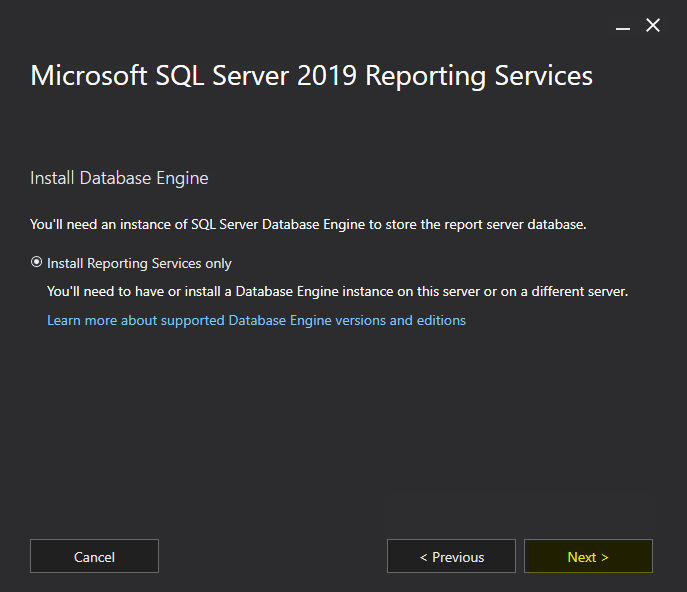
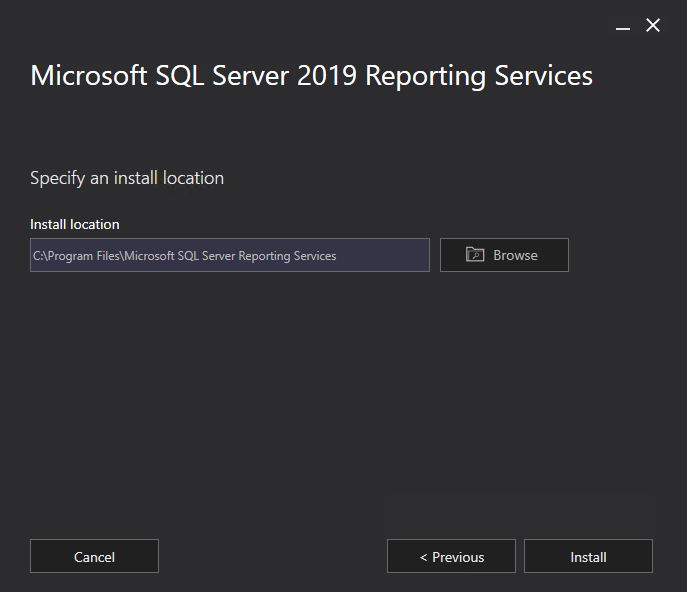
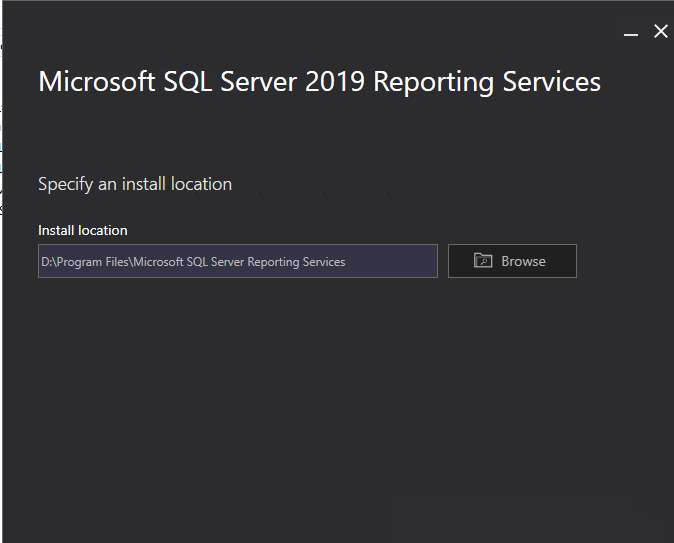
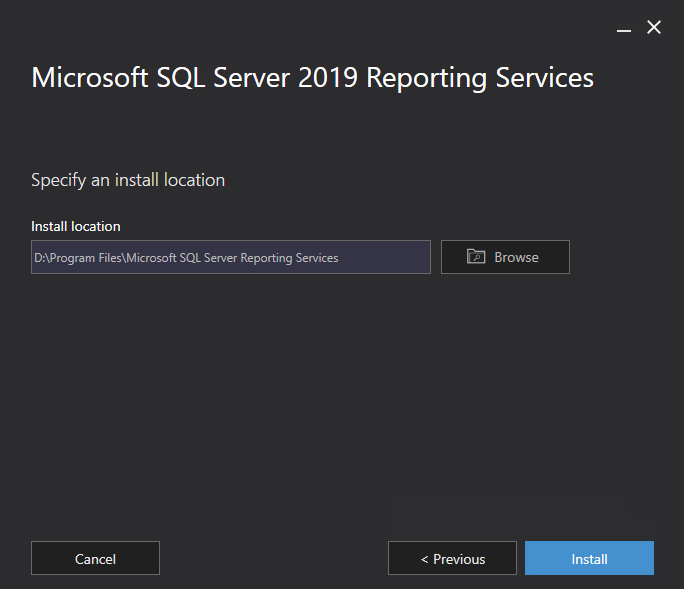
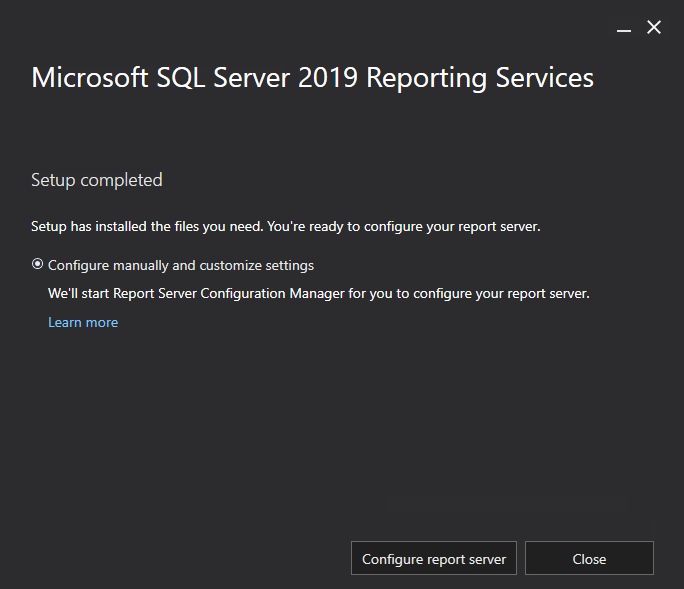
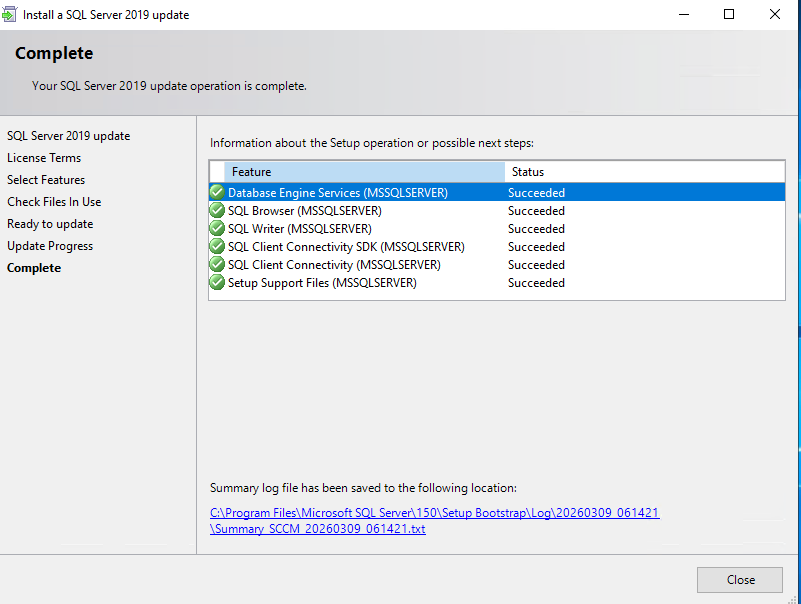
To begin the setup, open the SQL Server Installation Center and click on Install SQL Server Reporting Services.

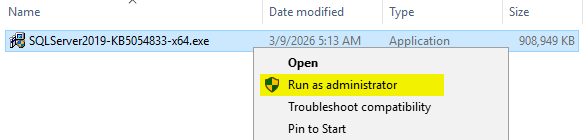
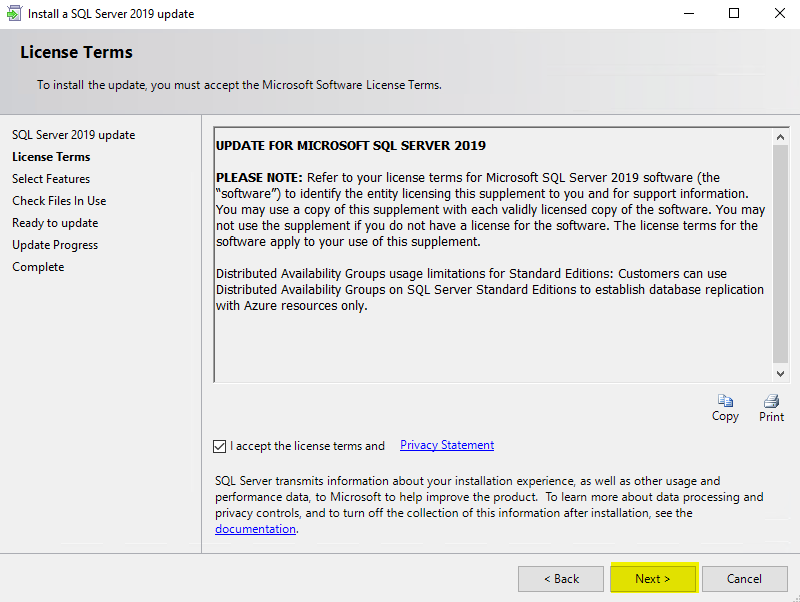
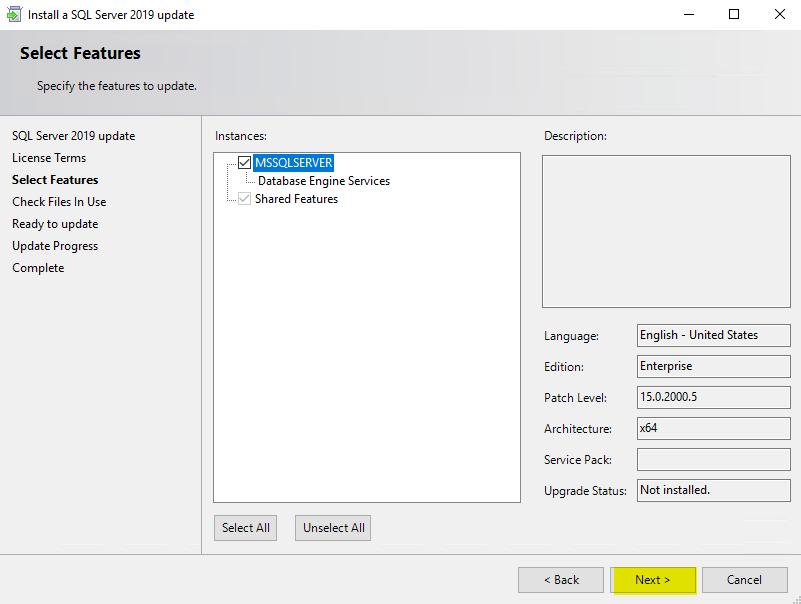
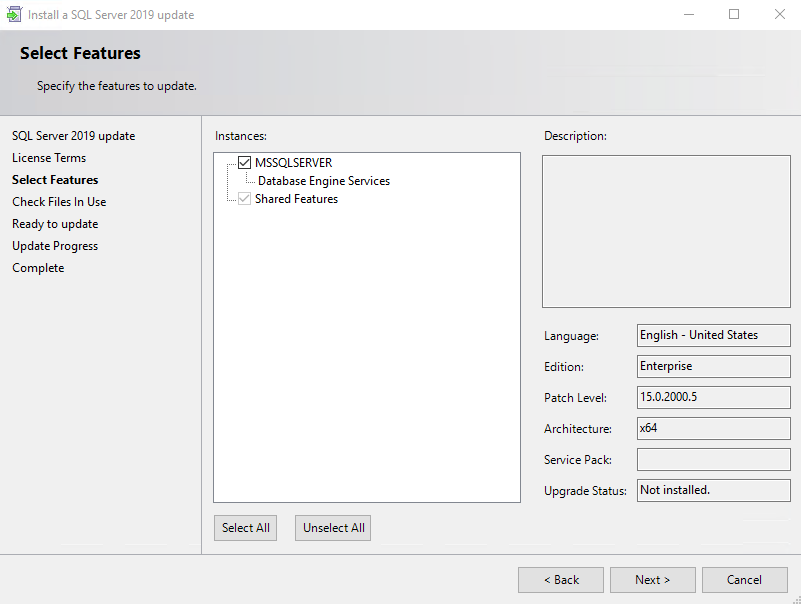
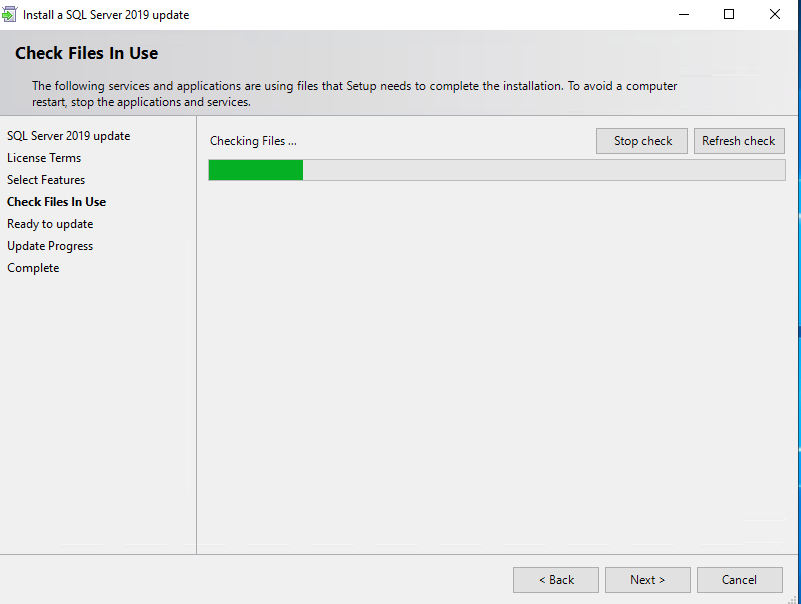
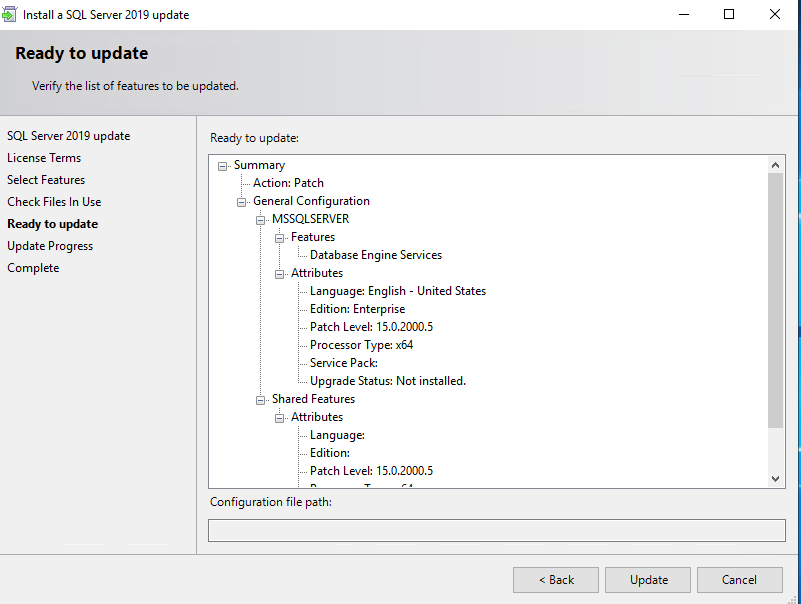
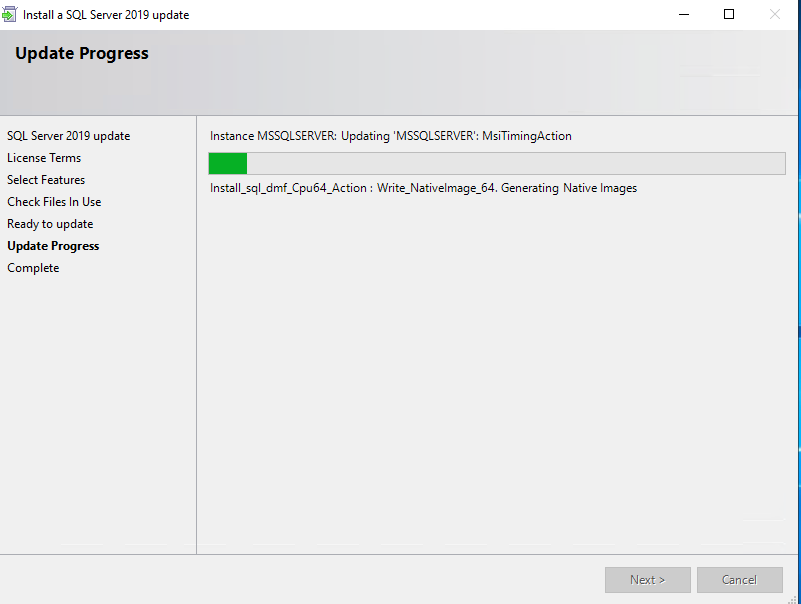
Download and install the latest SQL Server Hotfix/Cumulative Update before proceeding with the SCCM installation.
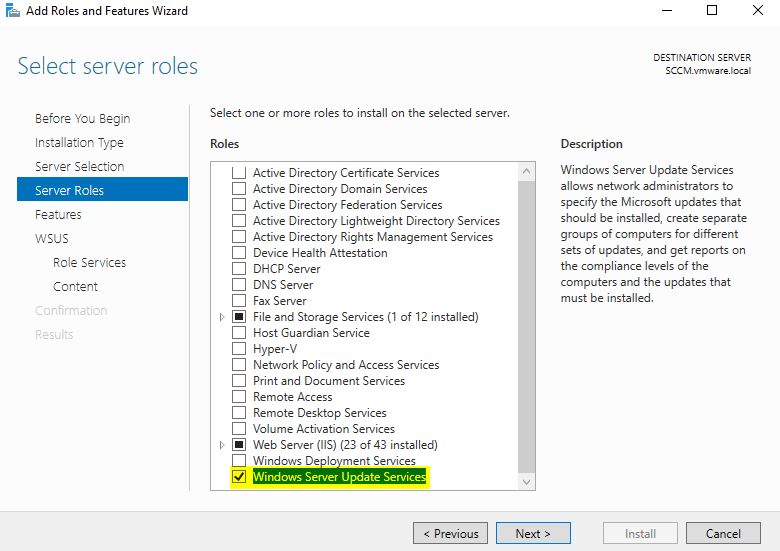
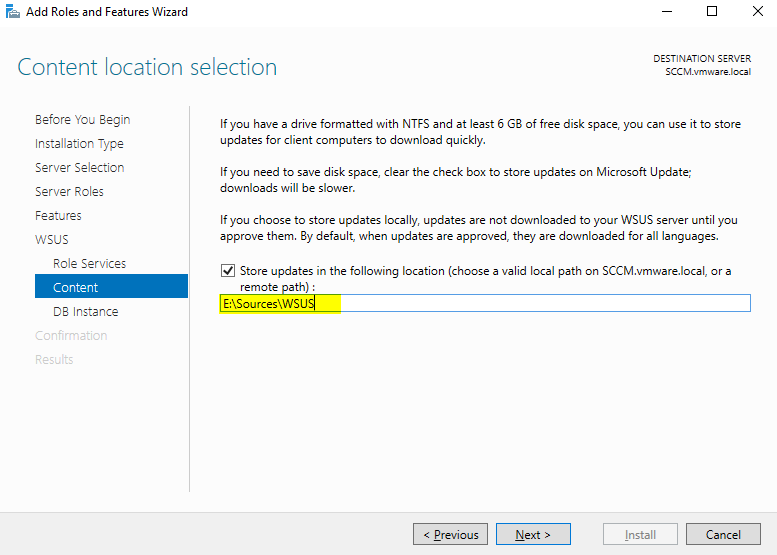
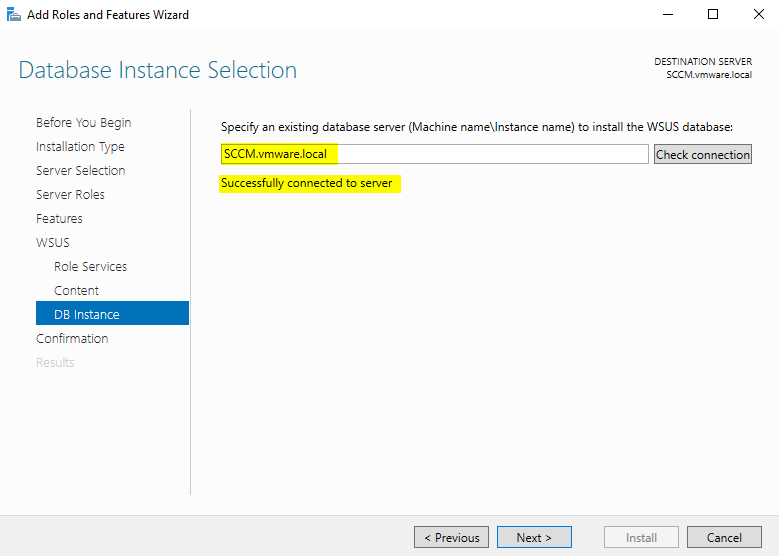
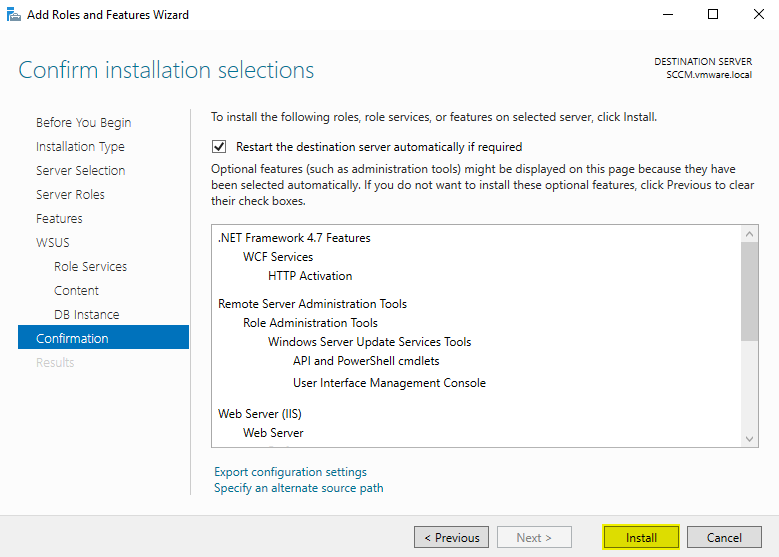
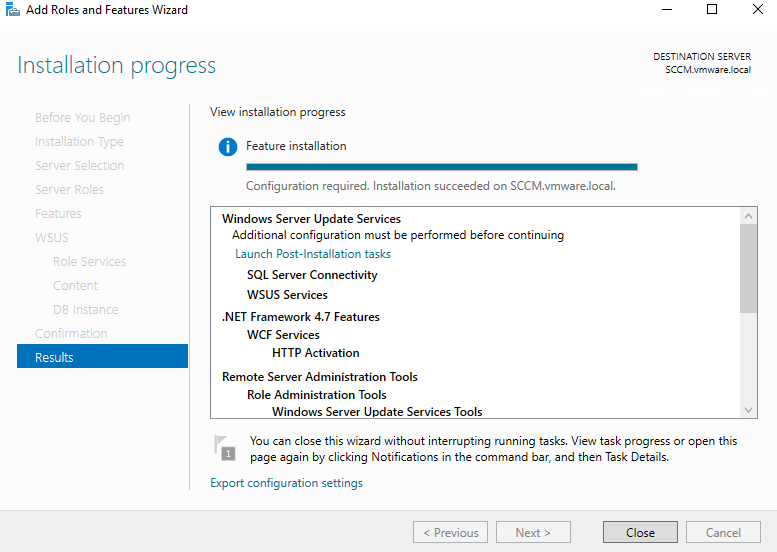
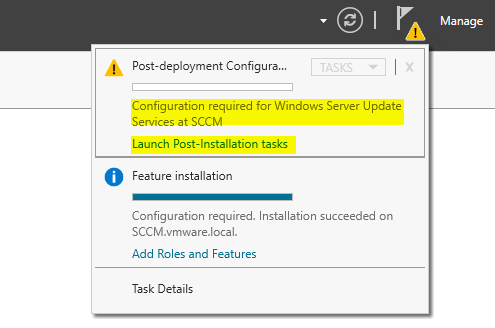
WSUS is a prerequisite for deploying updates through SCCM.
To install it, launch the Add Roles and Features Wizard in Server Manager and enable the Windows Server Update Services role.

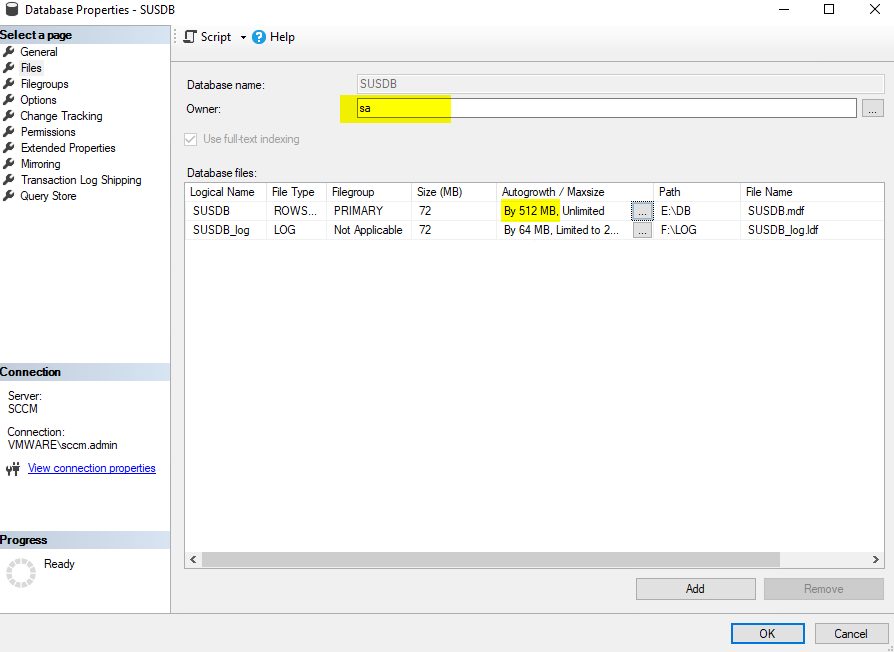
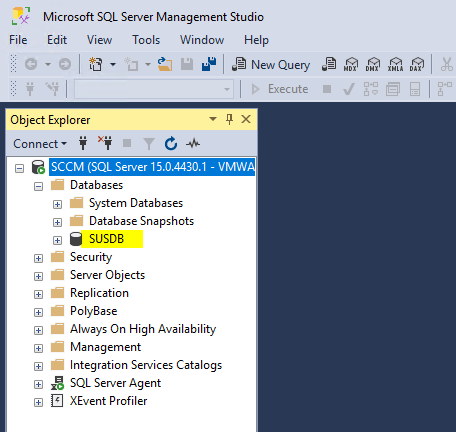
SUSDB Optimization
Path: SSMS > Databases > SUSDB > Properties > Files.
Owner: Change to sa.
Autogrowth: Set to 512 MB (unrestricted).
Action: Apply settings and exit.
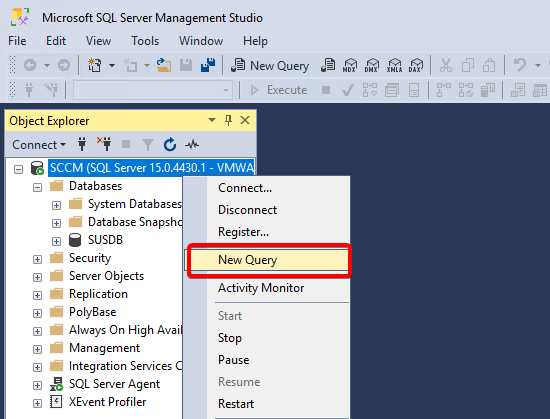
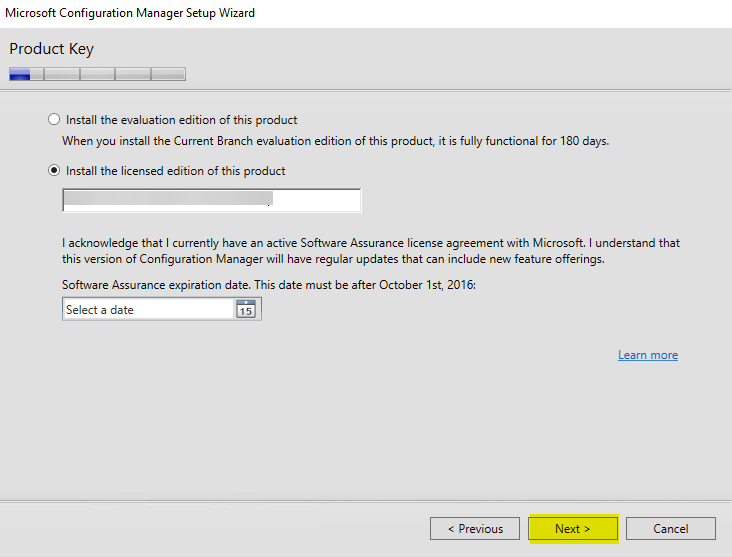
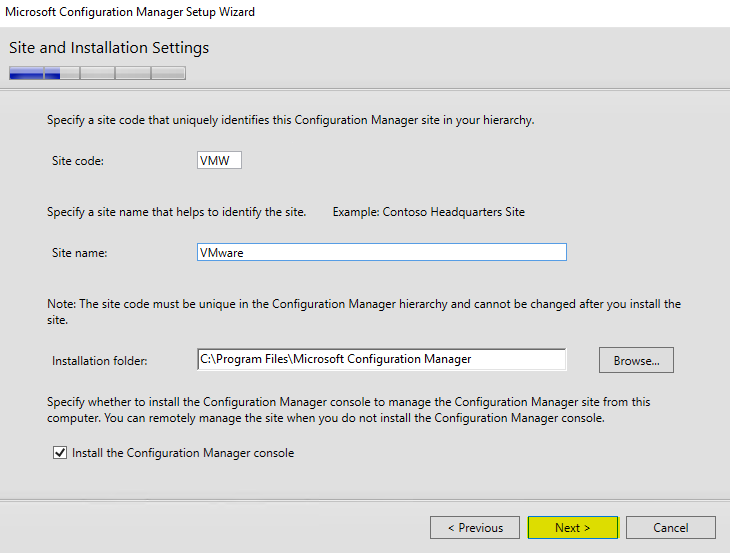
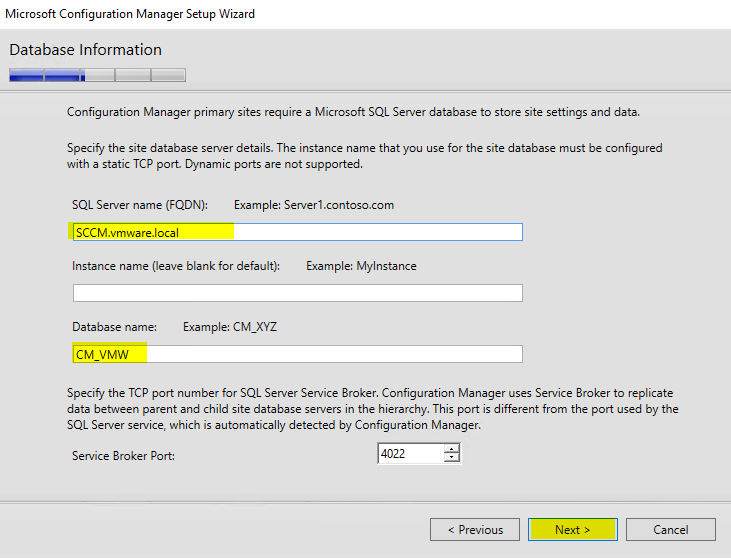
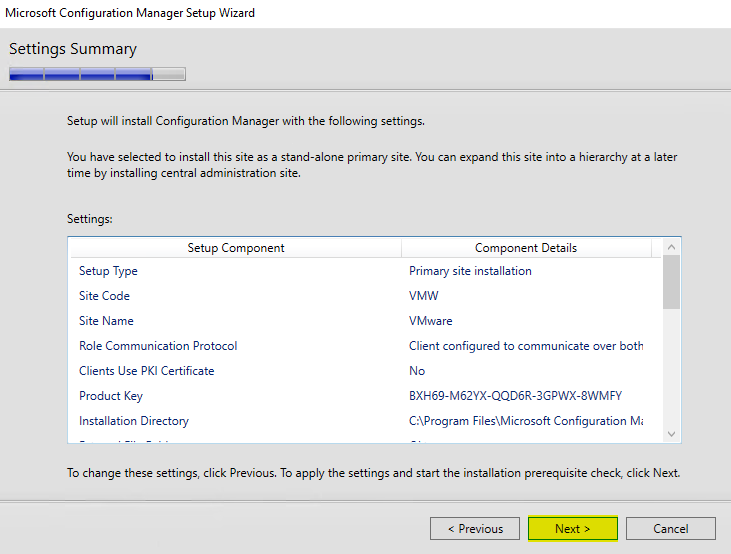
Important: Site Code and Database Configuration
Site Code: The name you provide will serve as your Site Code. Ensure you choose a unique, 3-character identifier.
Placeholder Values: Replace all XXX placeholders in the scripts/configurations with your specific Site Code.
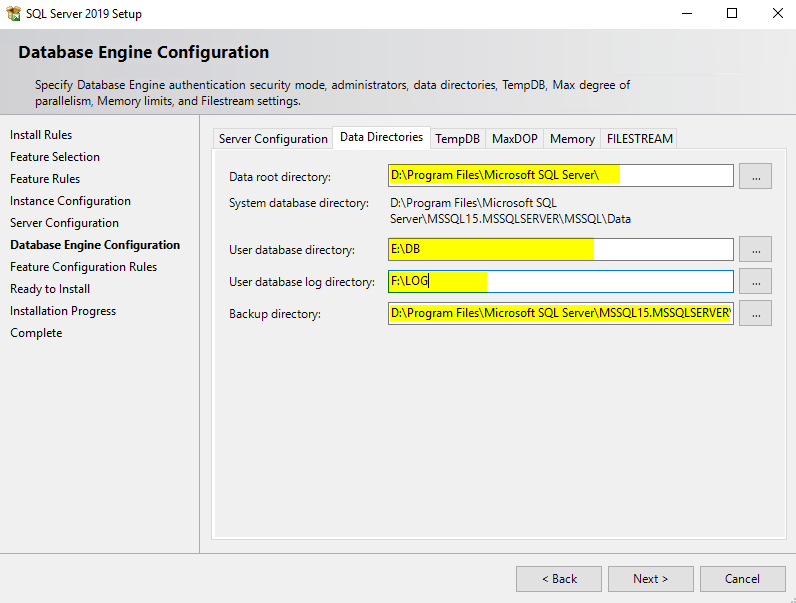
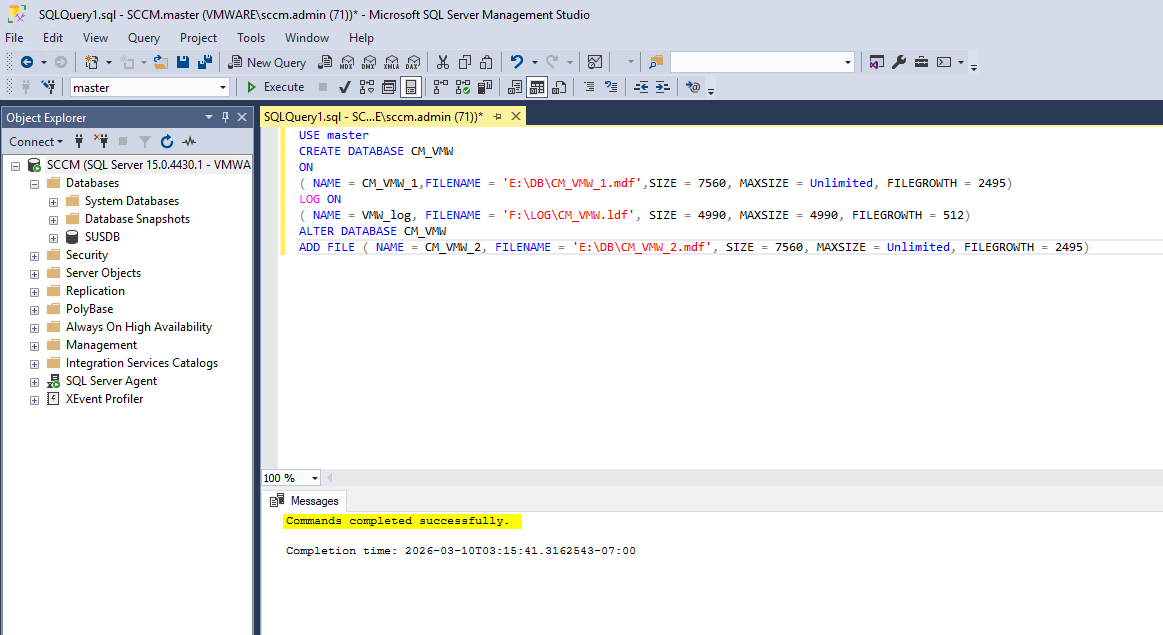
SQL Optimization: Manually configure the Filename, Size, MaxSize, and FileGrowth parameters. Ensure that the database and log files are pointed to your dedicated SQL and Logs drives for optimal performance.
USE master
CREATE DATABASE CM_XXX
ON
( NAME = CM_XXX_1,FILENAME = ‘E:\DB\CM_XXX_1.mdf’,SIZE = 7560, MAXSIZE = Unlimited, FILEGROWTH = 2495)
LOG ON
( NAME = XXX_log, FILENAME = ‘F:\LOG\CM_XXX.ldf’, SIZE = 4990, MAXSIZE = 4990, FILEGROWTH = 512)
ALTER DATABASE CM_XXX
ADD FILE ( NAME = CM_XXX_2, FILENAME = ‘E:\DB\CM_XXX_2.mdf’, SIZE = 7560, MAXSIZE = Unlimited, FILEGROWTH = 2495)
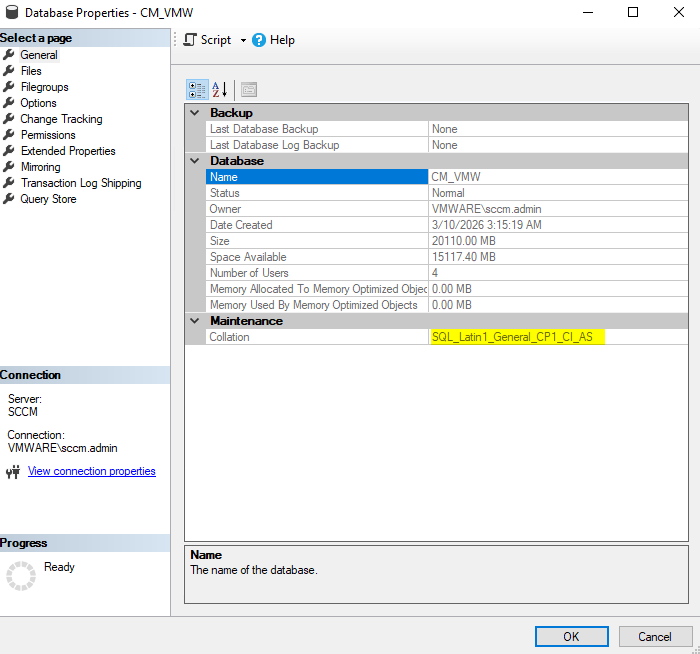
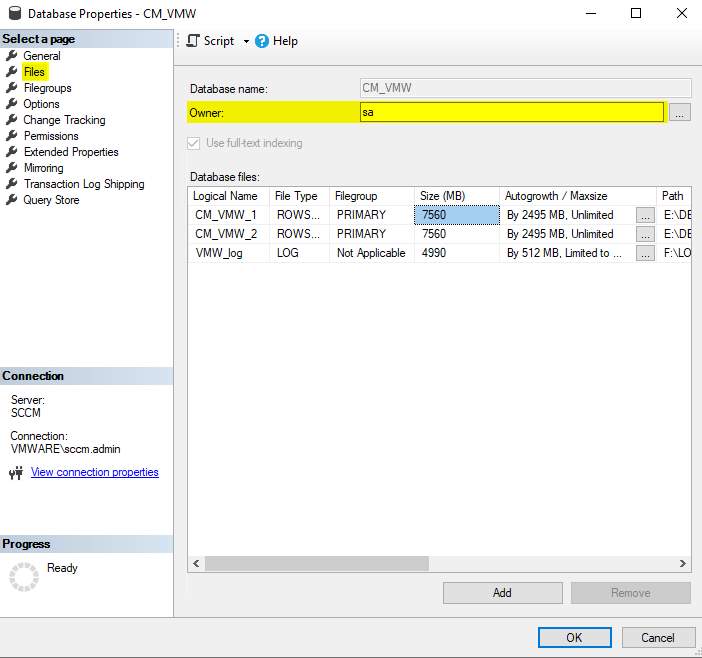
CM_XXX Optimization
Path: SSMS > Databases > CM_XXX> Properties > Files.
Owner: Change to sa.
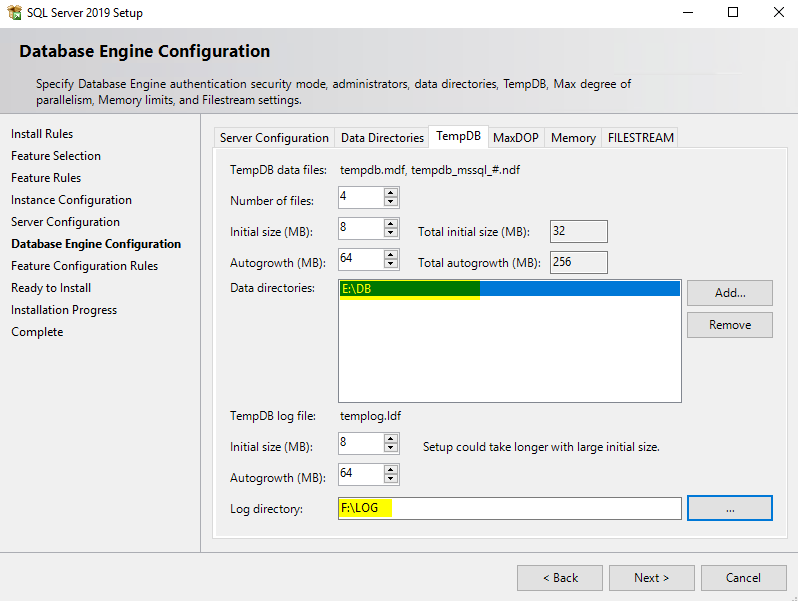
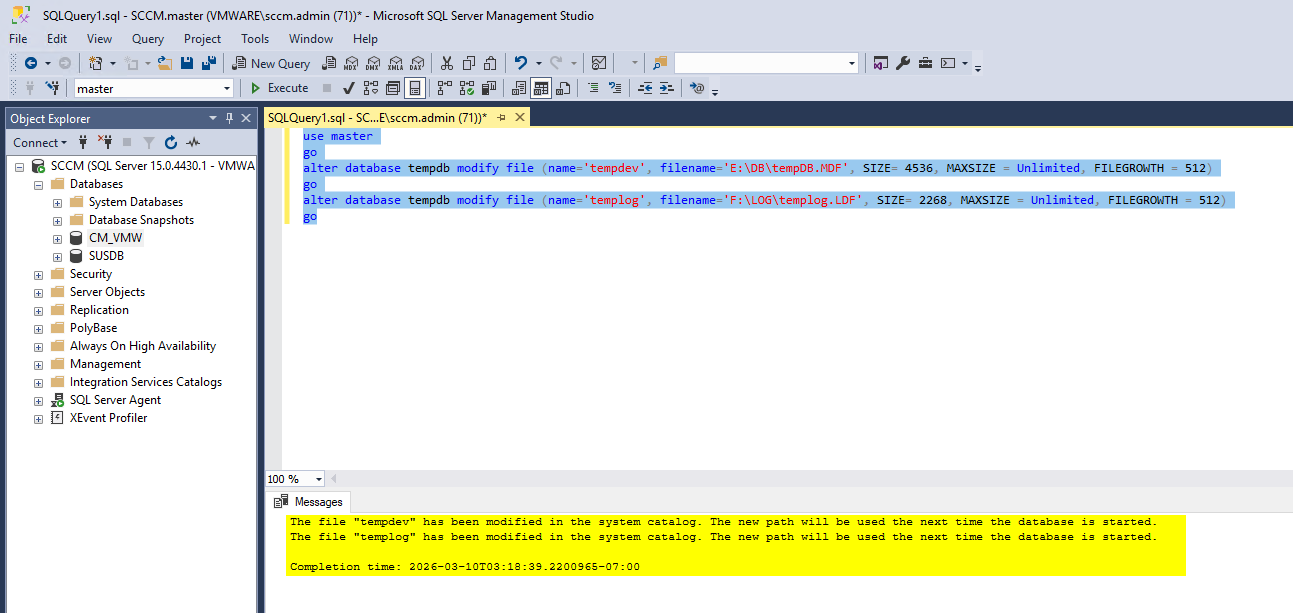
Run the following scripts to size the TempDB.
use master
go
alter database tempdb modify file (name=’tempdev’, filename=’E:\DB\tempDB.MDF’, SIZE= 4536, MAXSIZE = Unlimited, FILEGROWTH = 512)
go
alter database tempdb modify file (name=’templog’, filename=’F:\LOG\templog.LDF’, SIZE= 2268, MAXSIZE = Unlimited, FILEGROWTH = 512)
go
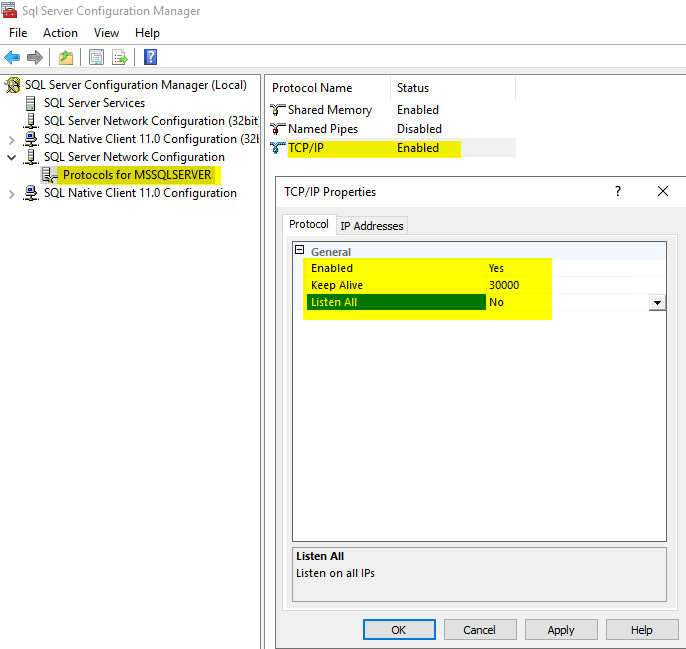
SQL Network Settings Verify the TCP/IP protocol settings for your SQL instance:
Location: SQL Configuration Manager > Protocols for MSSQLServer > TCP/IP Properties.
Enabled: Set to YES.
Listen All: Set to NO.
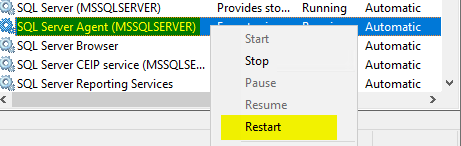
Note: A restart of the SQL Server service may be required for these changes to take effect.
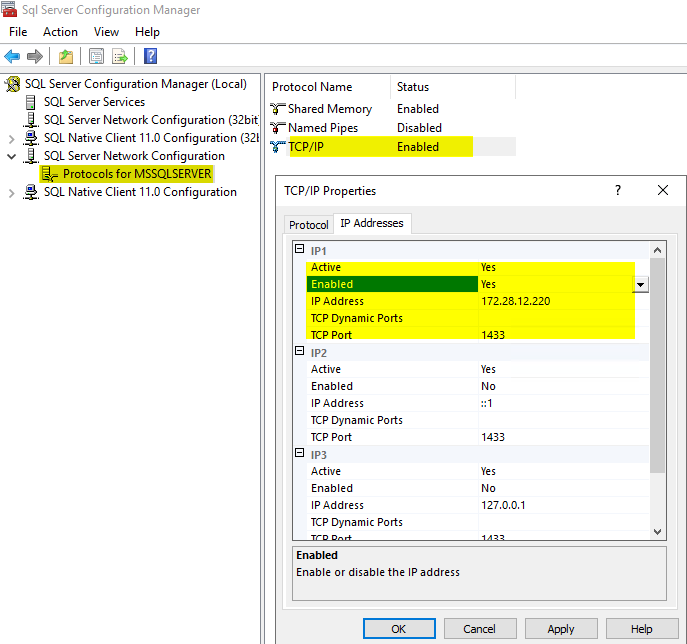
- In the IP Addresses tab
- IP1 (which should have your Server IP)
- Active : YES
- Enabled : YES
- All other IP and IP ALL
- Active : YES
- Enabled : NO
- TCP Dynamic Ports : Blank value
- TCP Port : 1433
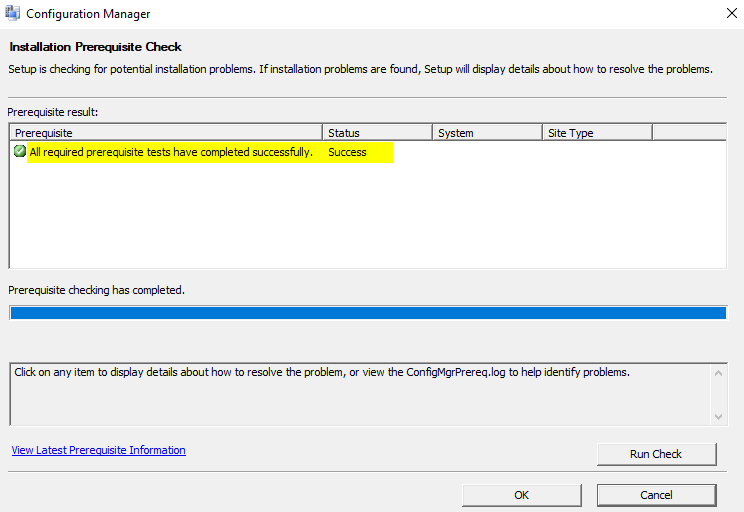
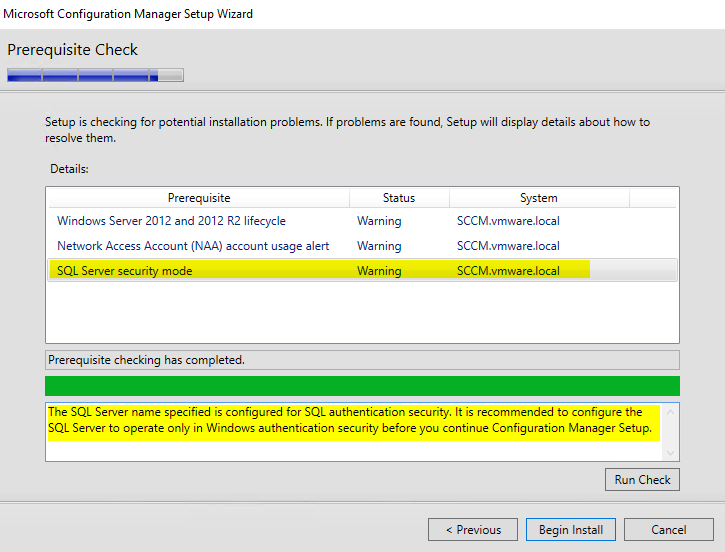
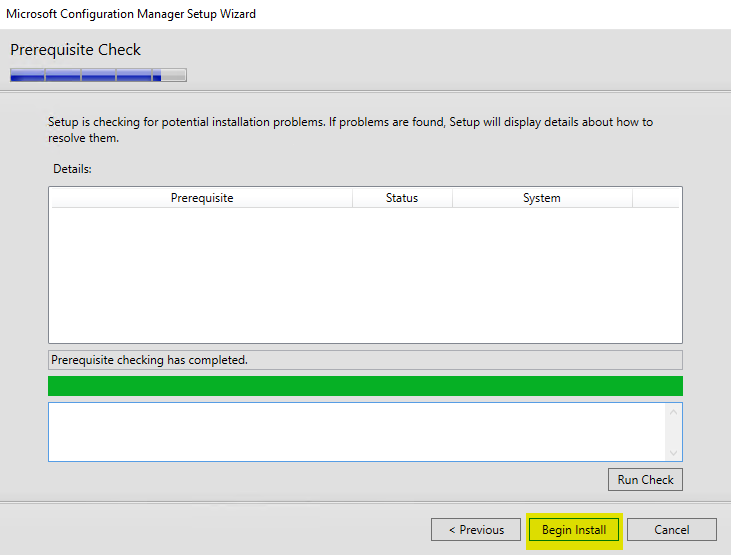
Run the Prerequisite Checker Before starting the SCCM installation, it is highly recommended to run the standalone Prerequisite Checker (prereqchk.exe). While the installation wizard performs this check automatically, using the standalone tool beforehand saves time by allowing you to identify and resolve missing requirements without restarting the entire wizard.
To run the standalone tool:
Open a Command Prompt as an Administrator.
Navigate to the following directory in your installation media:
.\SMSSETUP\BIN\X64
Execute the following command:
.\Prereqchk.exe /AdminUI
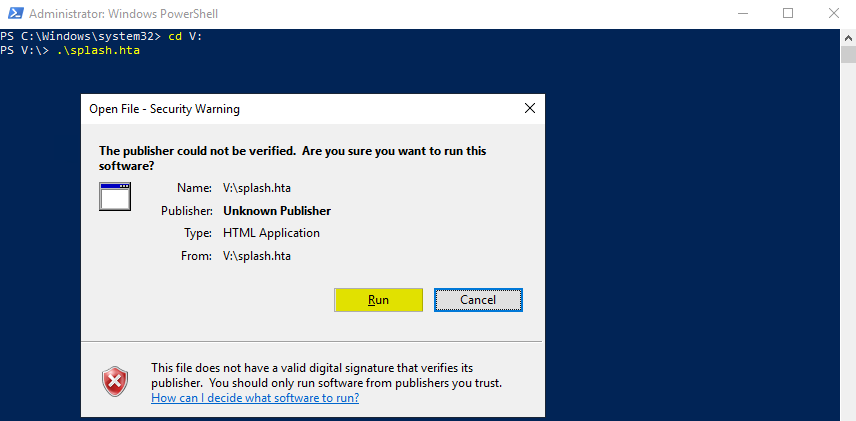
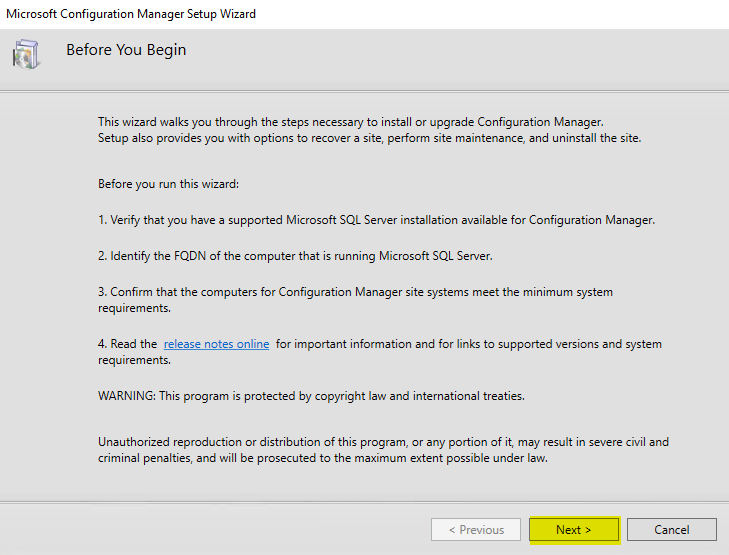
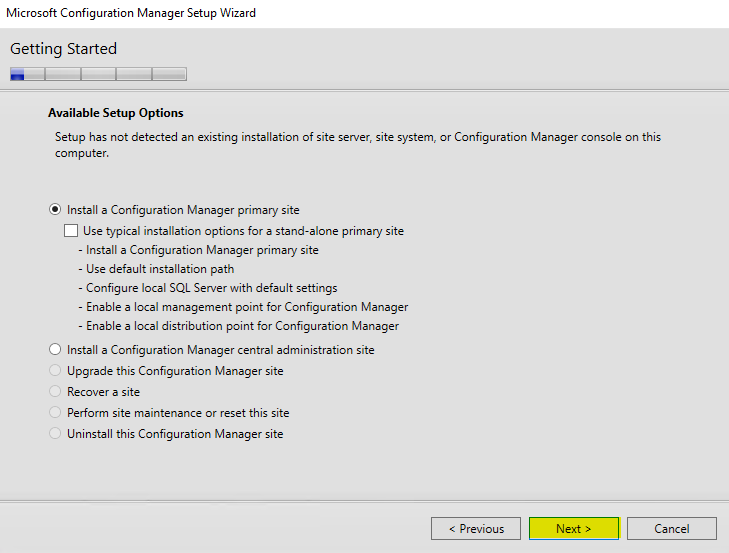
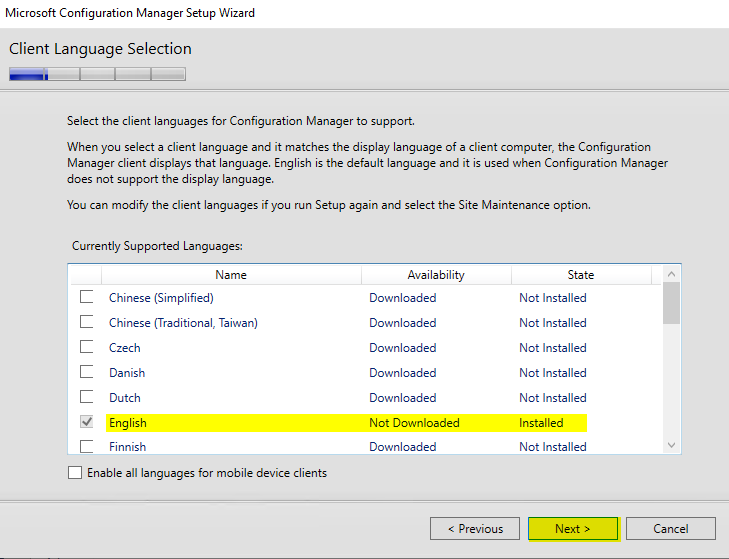
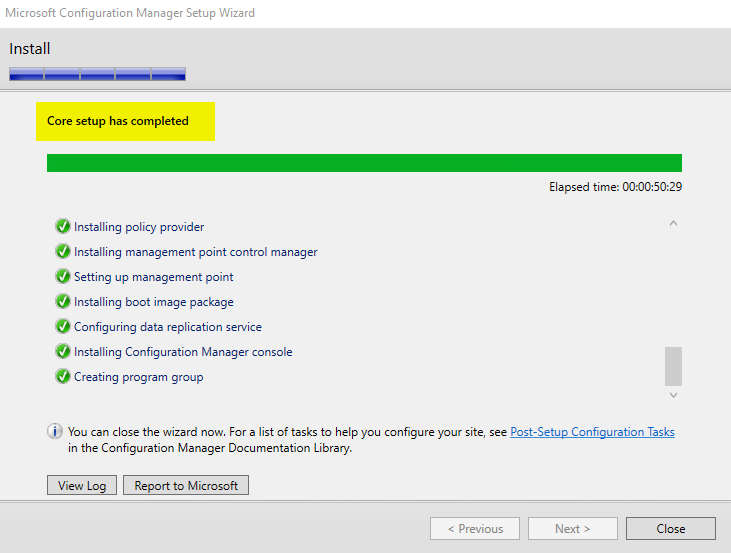
Step-by-Step: Starting the Setup
Navigate to the following directory in your installation media:
.\SMSSETUP\BIN\X64
-
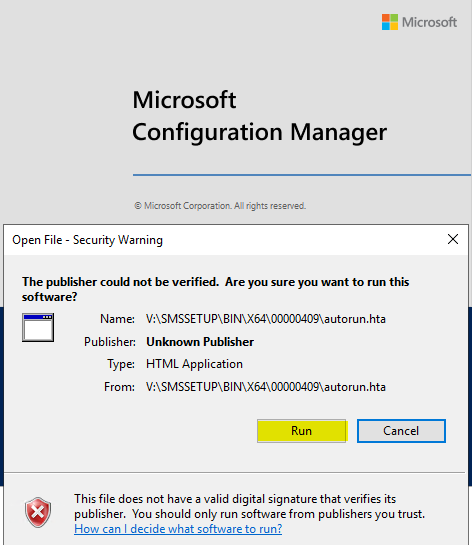
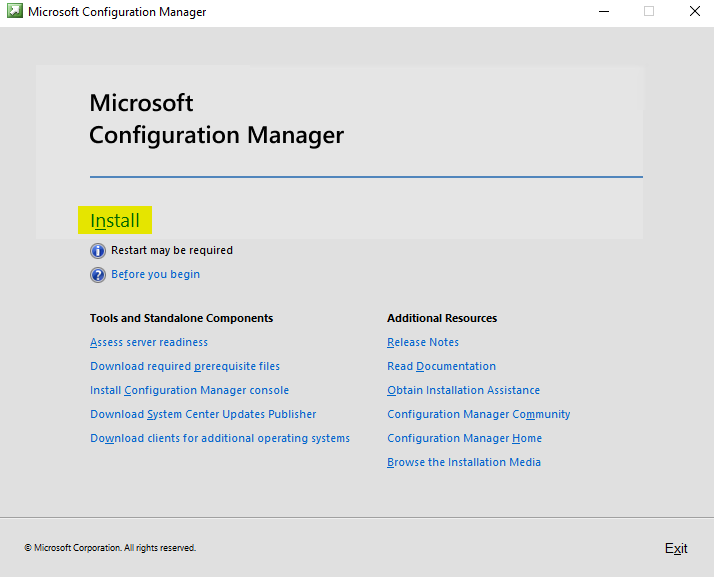
Launch: Run
.\splash.htawith administrative privileges. -
Action: Click Install to start the deployment.


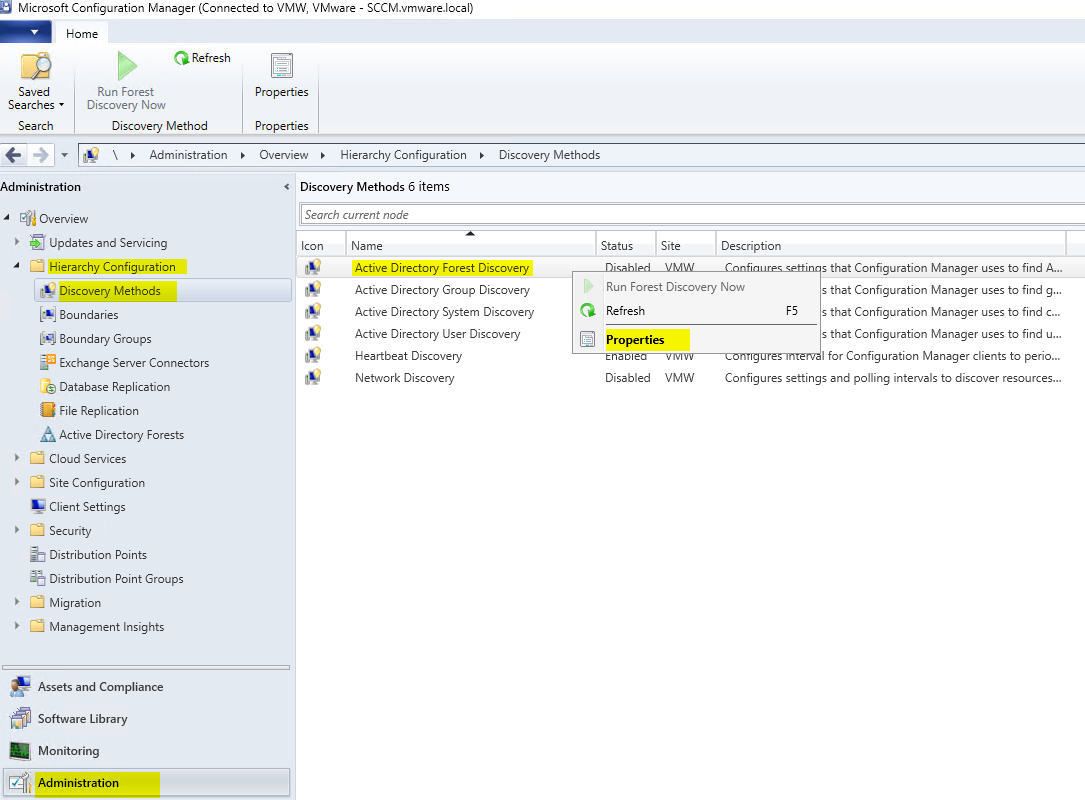
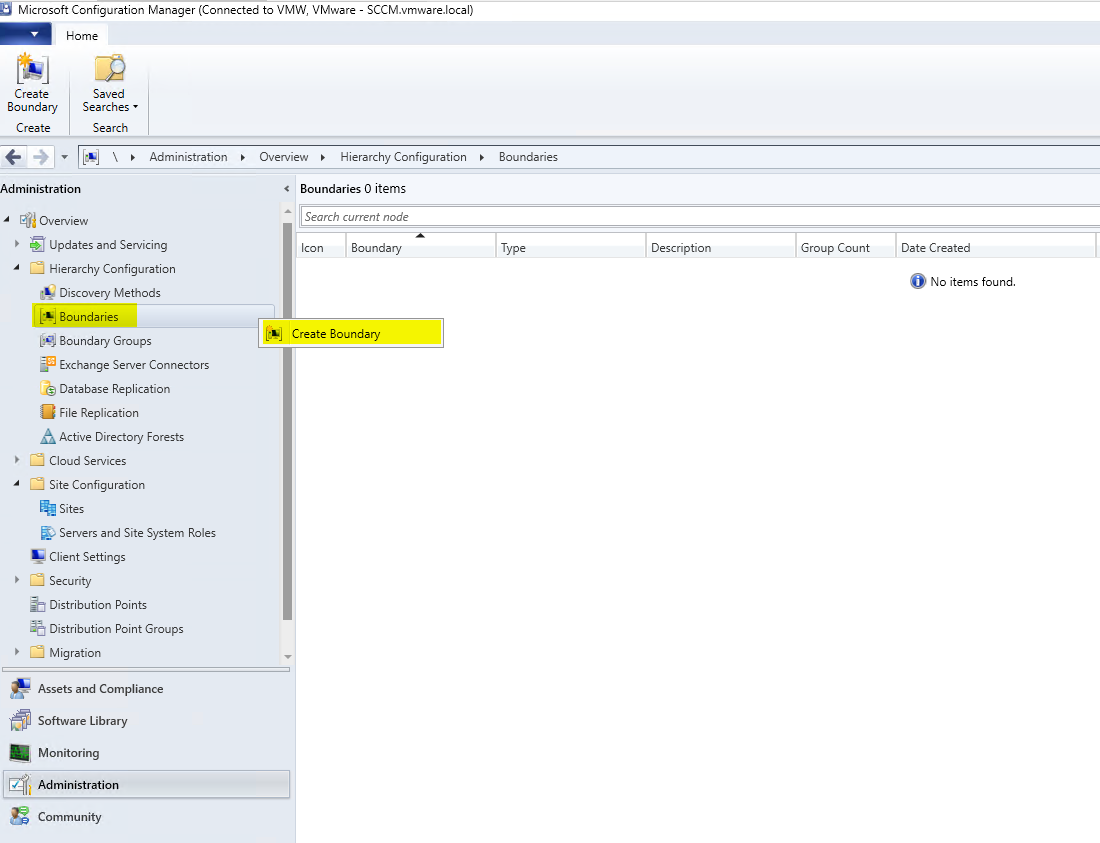
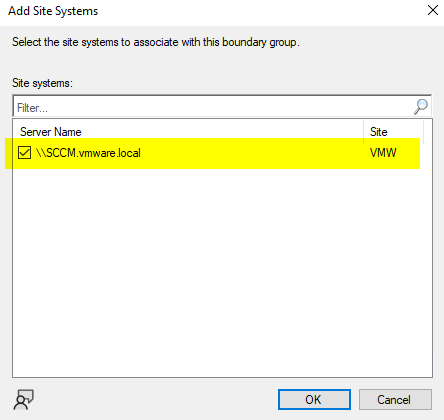
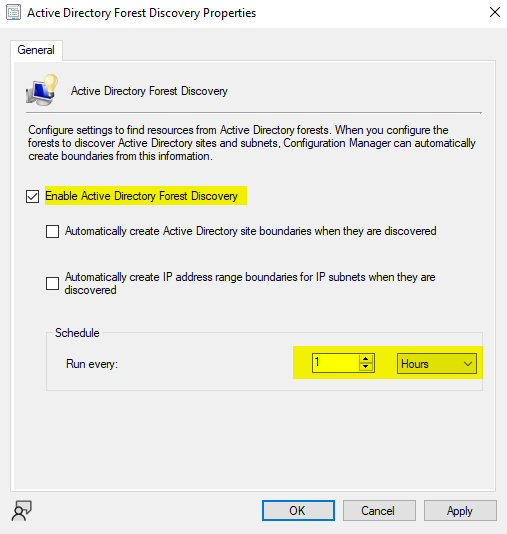
Active Directory Forest Discovery
This method automatically discovers AD sites and subnets, creating SCCM boundaries for each. It is highly efficient for environments with multiple sites, as it eliminates the need for manual boundary creation.
To Enable:
-
Go to SCCM Console > Administration.
-
Navigate to Hierarchy Configuration > Discovery Methods.
-
Right-click Active Directory Forest Discovery and select Properties.
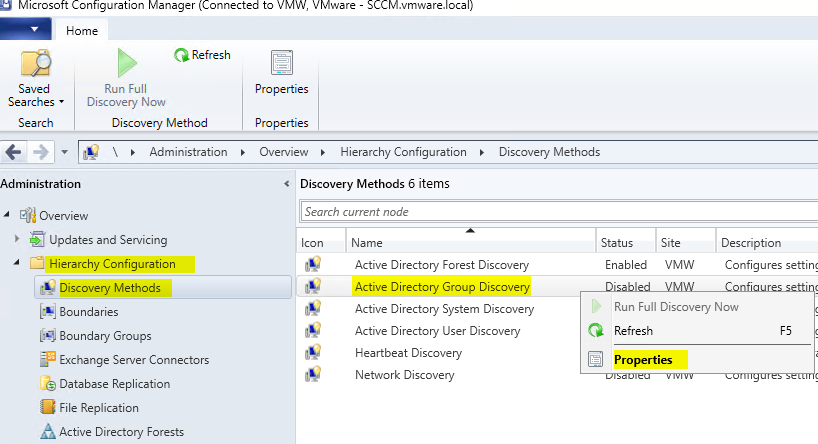
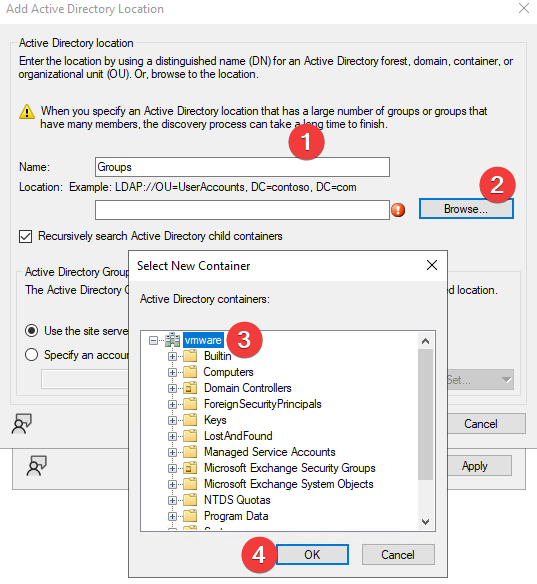
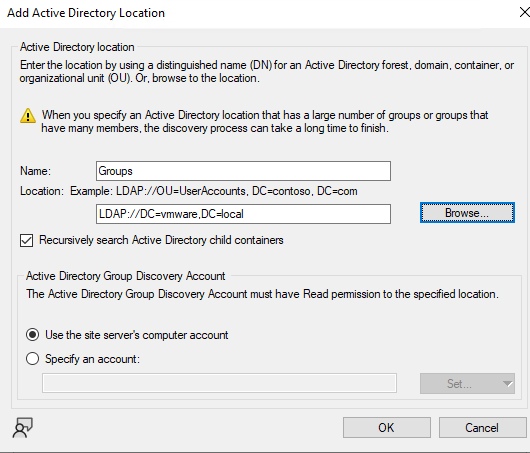
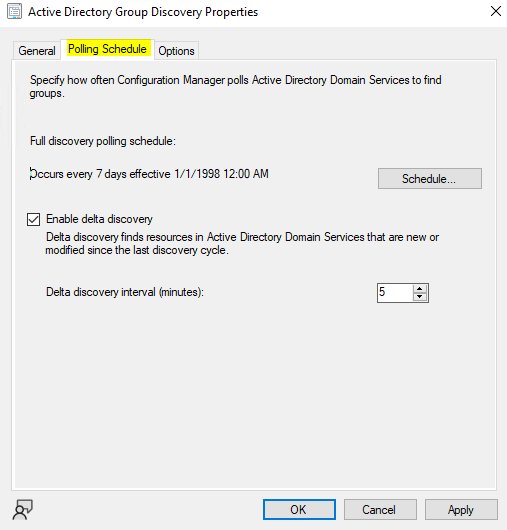
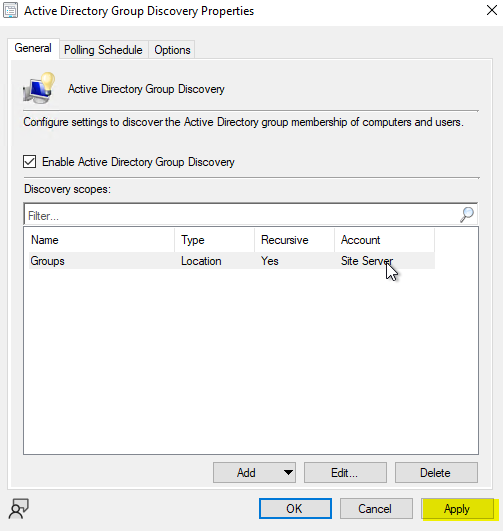
Active Directory Group Discovery
This method discovers AD security groups, their memberships, and computers that have logged into the domain.
Caution: If a group contains a computer not yet found by System Discovery, it will be added to SCCM. With Automatic Client Push enabled, this may trigger unwanted installations.
To Enable:
-
Go to SCCM Console > Administration.
-
Navigate to Hierarchy Configuration > Discovery Methods.
-
Right-click Active Directory Group Discovery and select Properties.
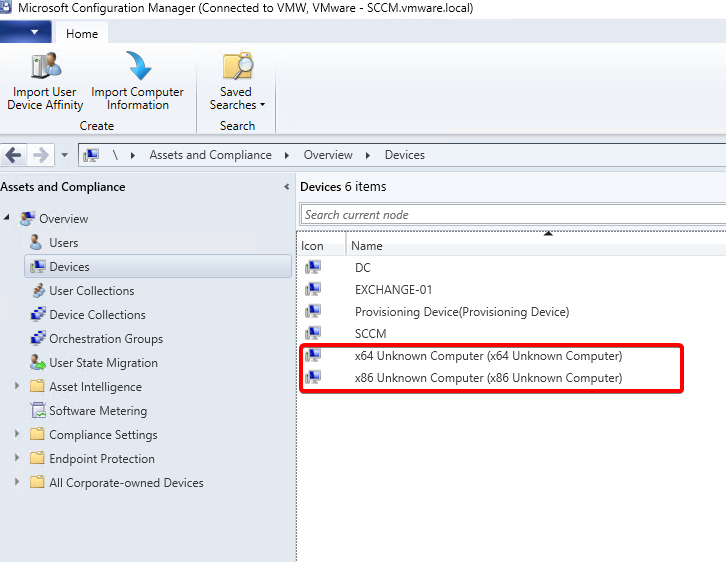
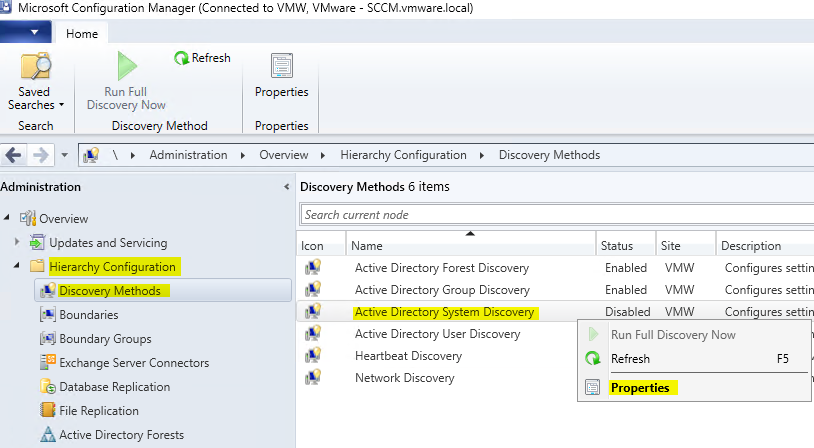
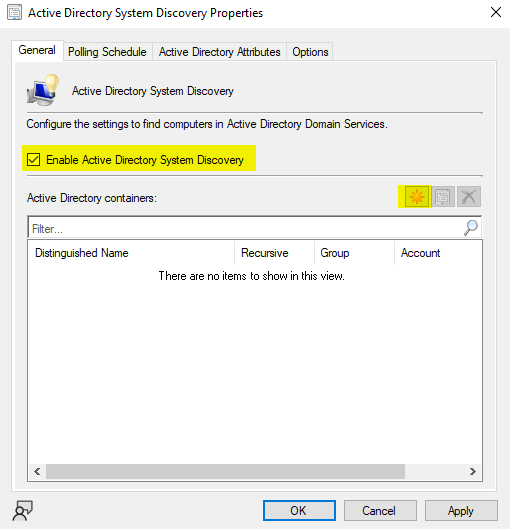
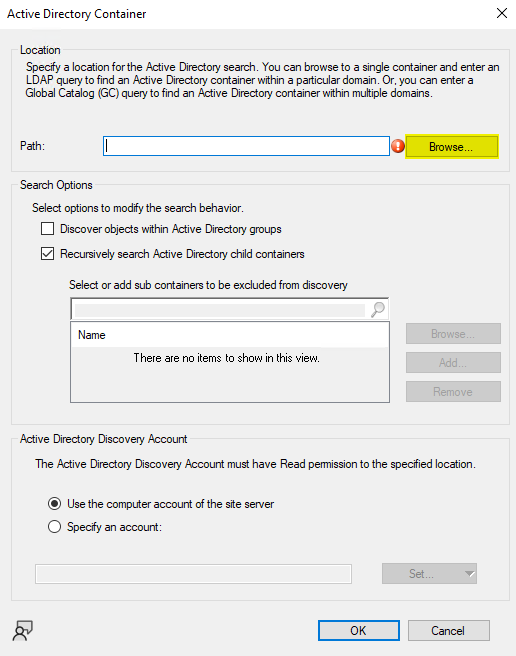
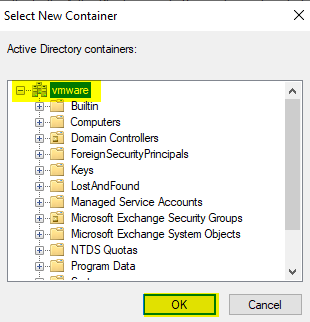
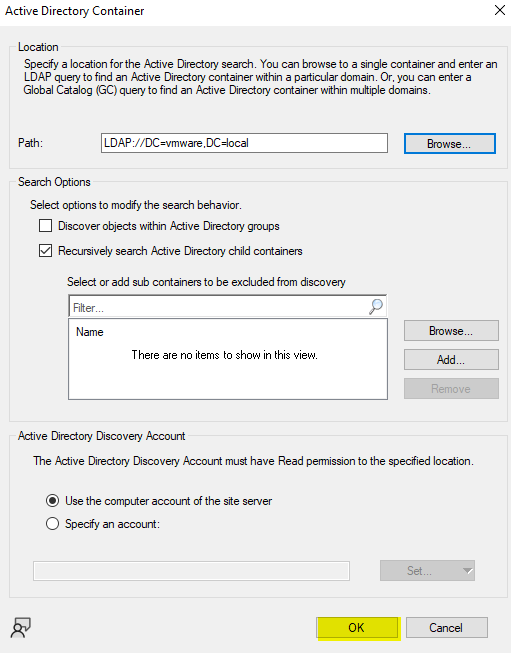
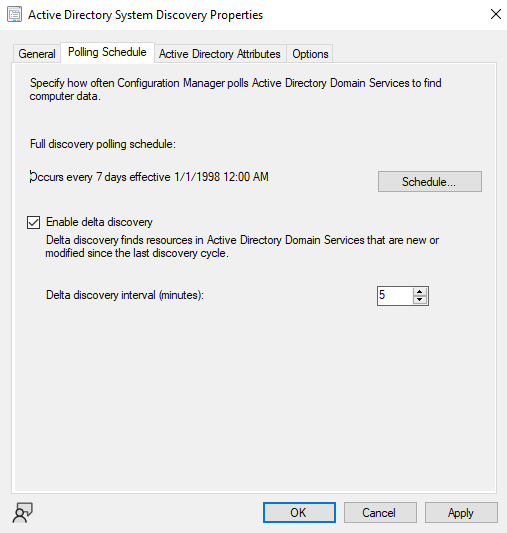
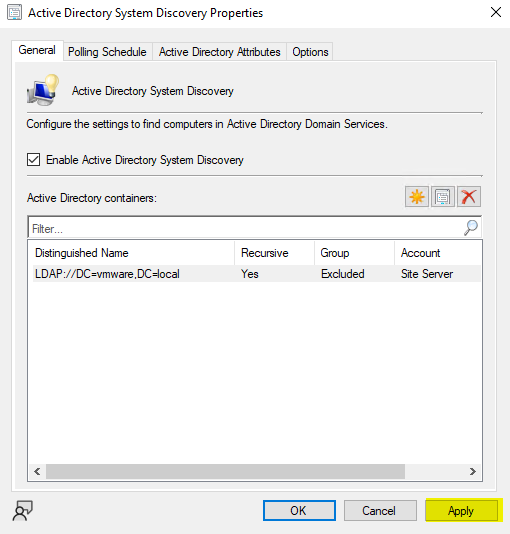
Active Directory System Discovery
This method identifies computers within specified AD locations. Since resources must be discovered before a client push, this step is essential.
You can also filter for recently active computers to exclude obsolete accounts or fetch custom AD attributes.
To Enable:
-
Go to SCCM Console > Administration.
-
Navigate to Hierarchy Configuration > Discovery Methods.
-
Right-click Active Directory System Discovery and select Properties.
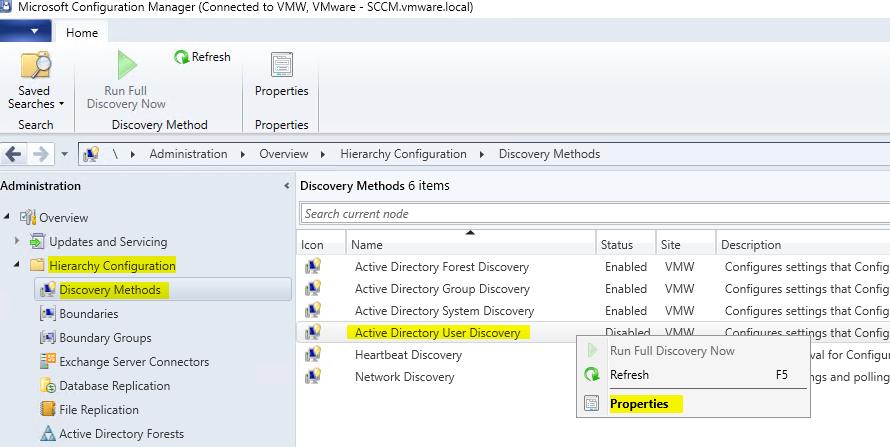
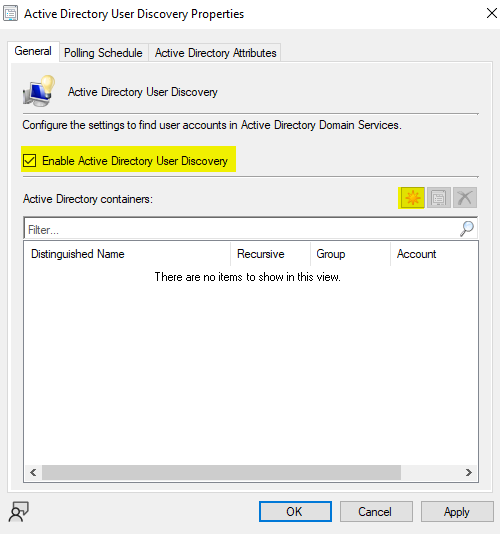
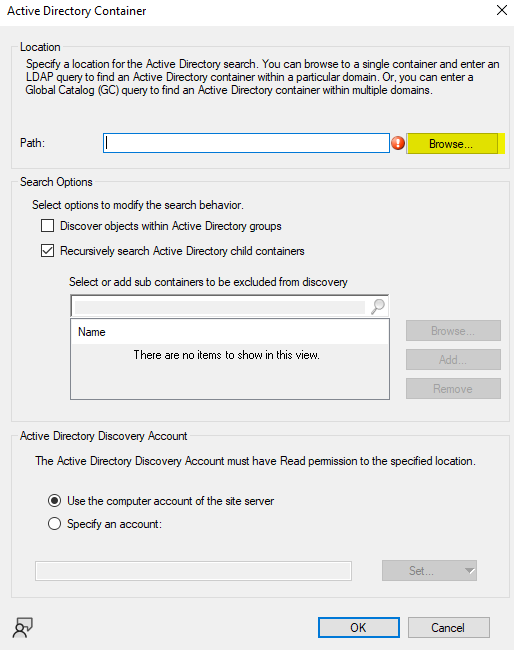
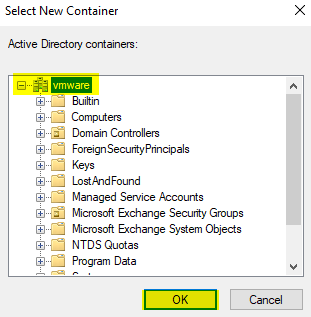
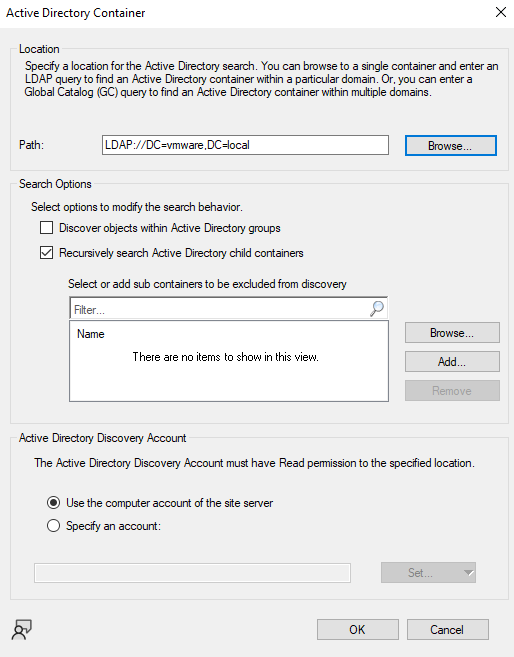
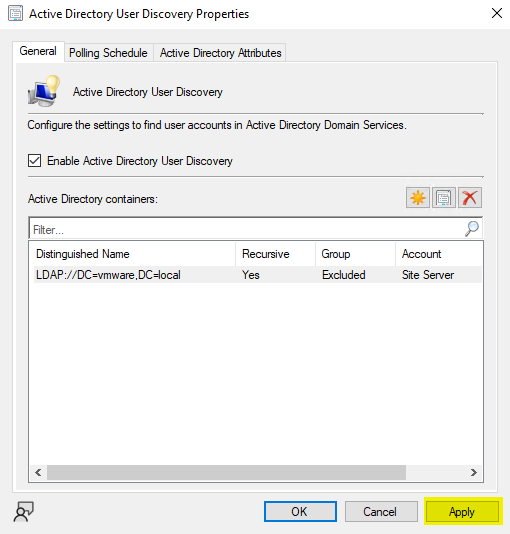
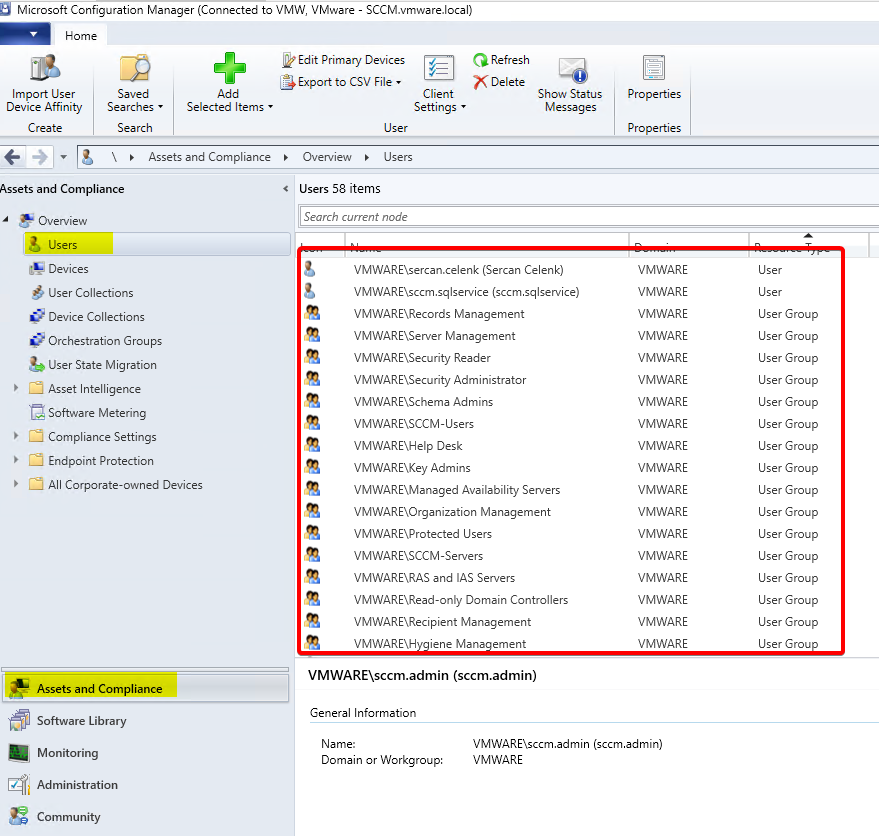
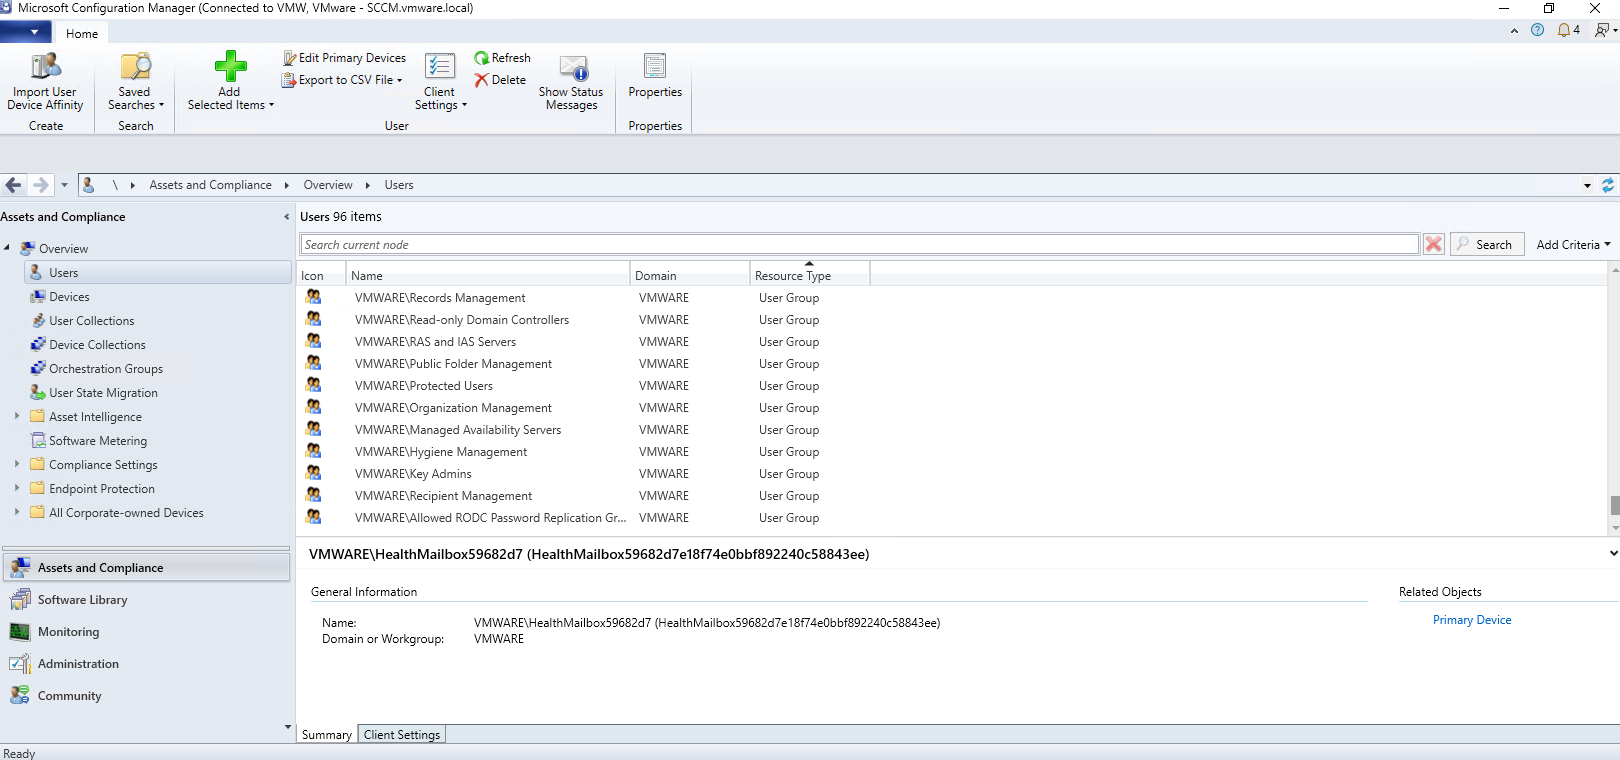
Active Directory User Discovery
This method identifies user accounts from specified AD locations. It allows you to fetch custom AD attributes and use the discovered data for user-based deployments.
To Enable:
-
Go to SCCM Console > Administration.
-
Navigate to Hierarchy Configuration > Discovery Methods.
-
Right-click Active Directory User Discovery and select Properties.